The goal of this tutorial is to provide a hands-on demonstration of Chronos. We will create a plan and continuously refactor it as we execute our work — that is, we'll introduce, edit, reorder and complete tasks, update plan settings and revise estimates along the way.
This tutorial is most effective when followed along using Chronos. You should download, install, and run Chronos if you haven't already.
For the purposes of this tutorial, we'll be building a boat.
The main takeaway here should be that, as we carry out our work, we continuously and quickly update our plan in Chronos as we go. Planning becomes an integral, but casual and dynamic, part of our creative process.
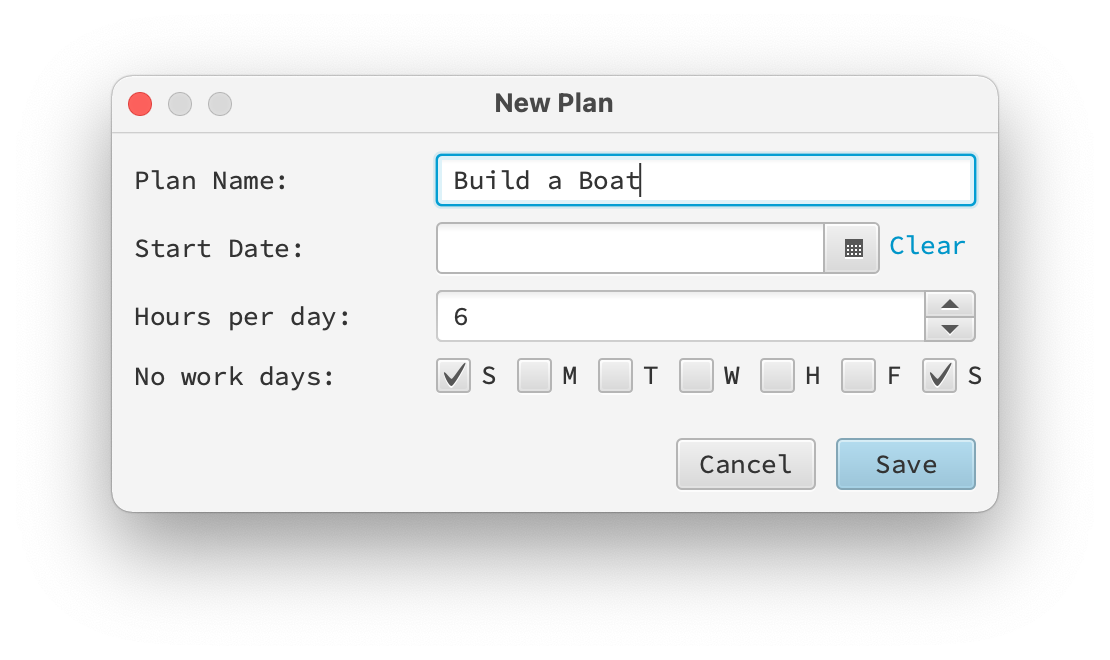
From the keyboard, press
Command+Shift+P (or File > New Plan...)
to open the New Plan modal.
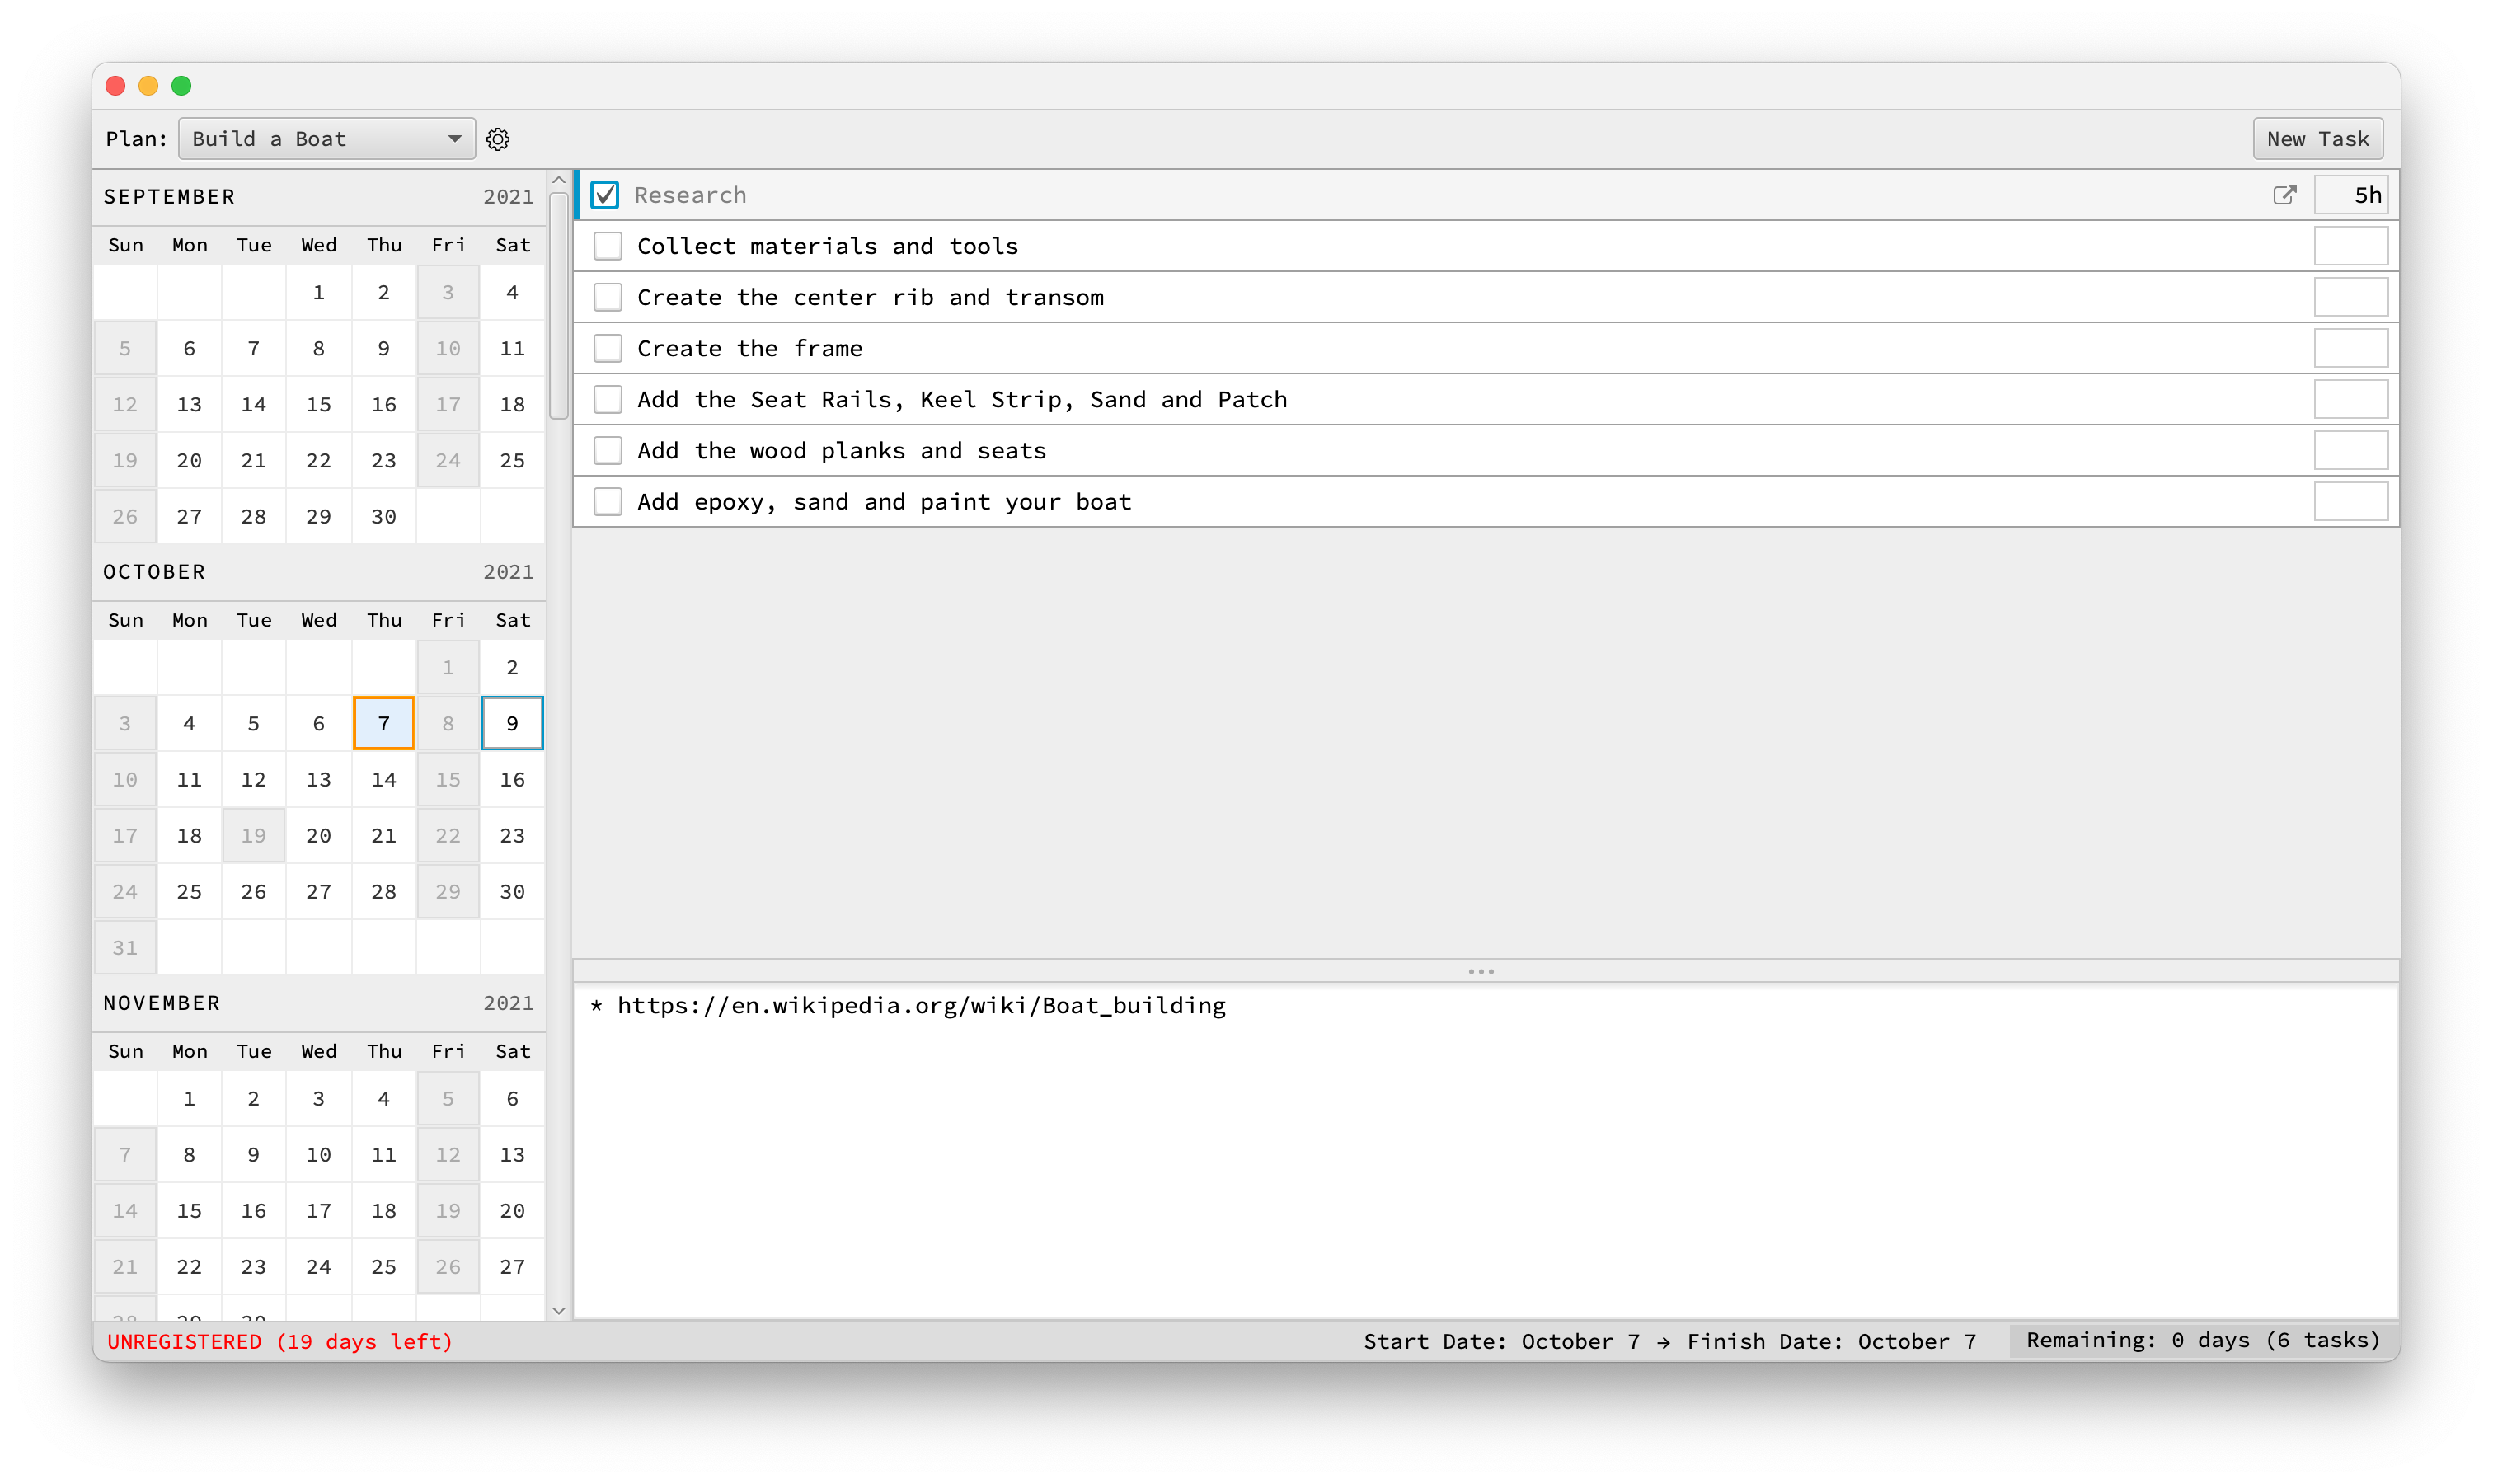
Let's give our plan a name, Build a Boat, and press Enter.
When we create a new plan, the first task is given focus.
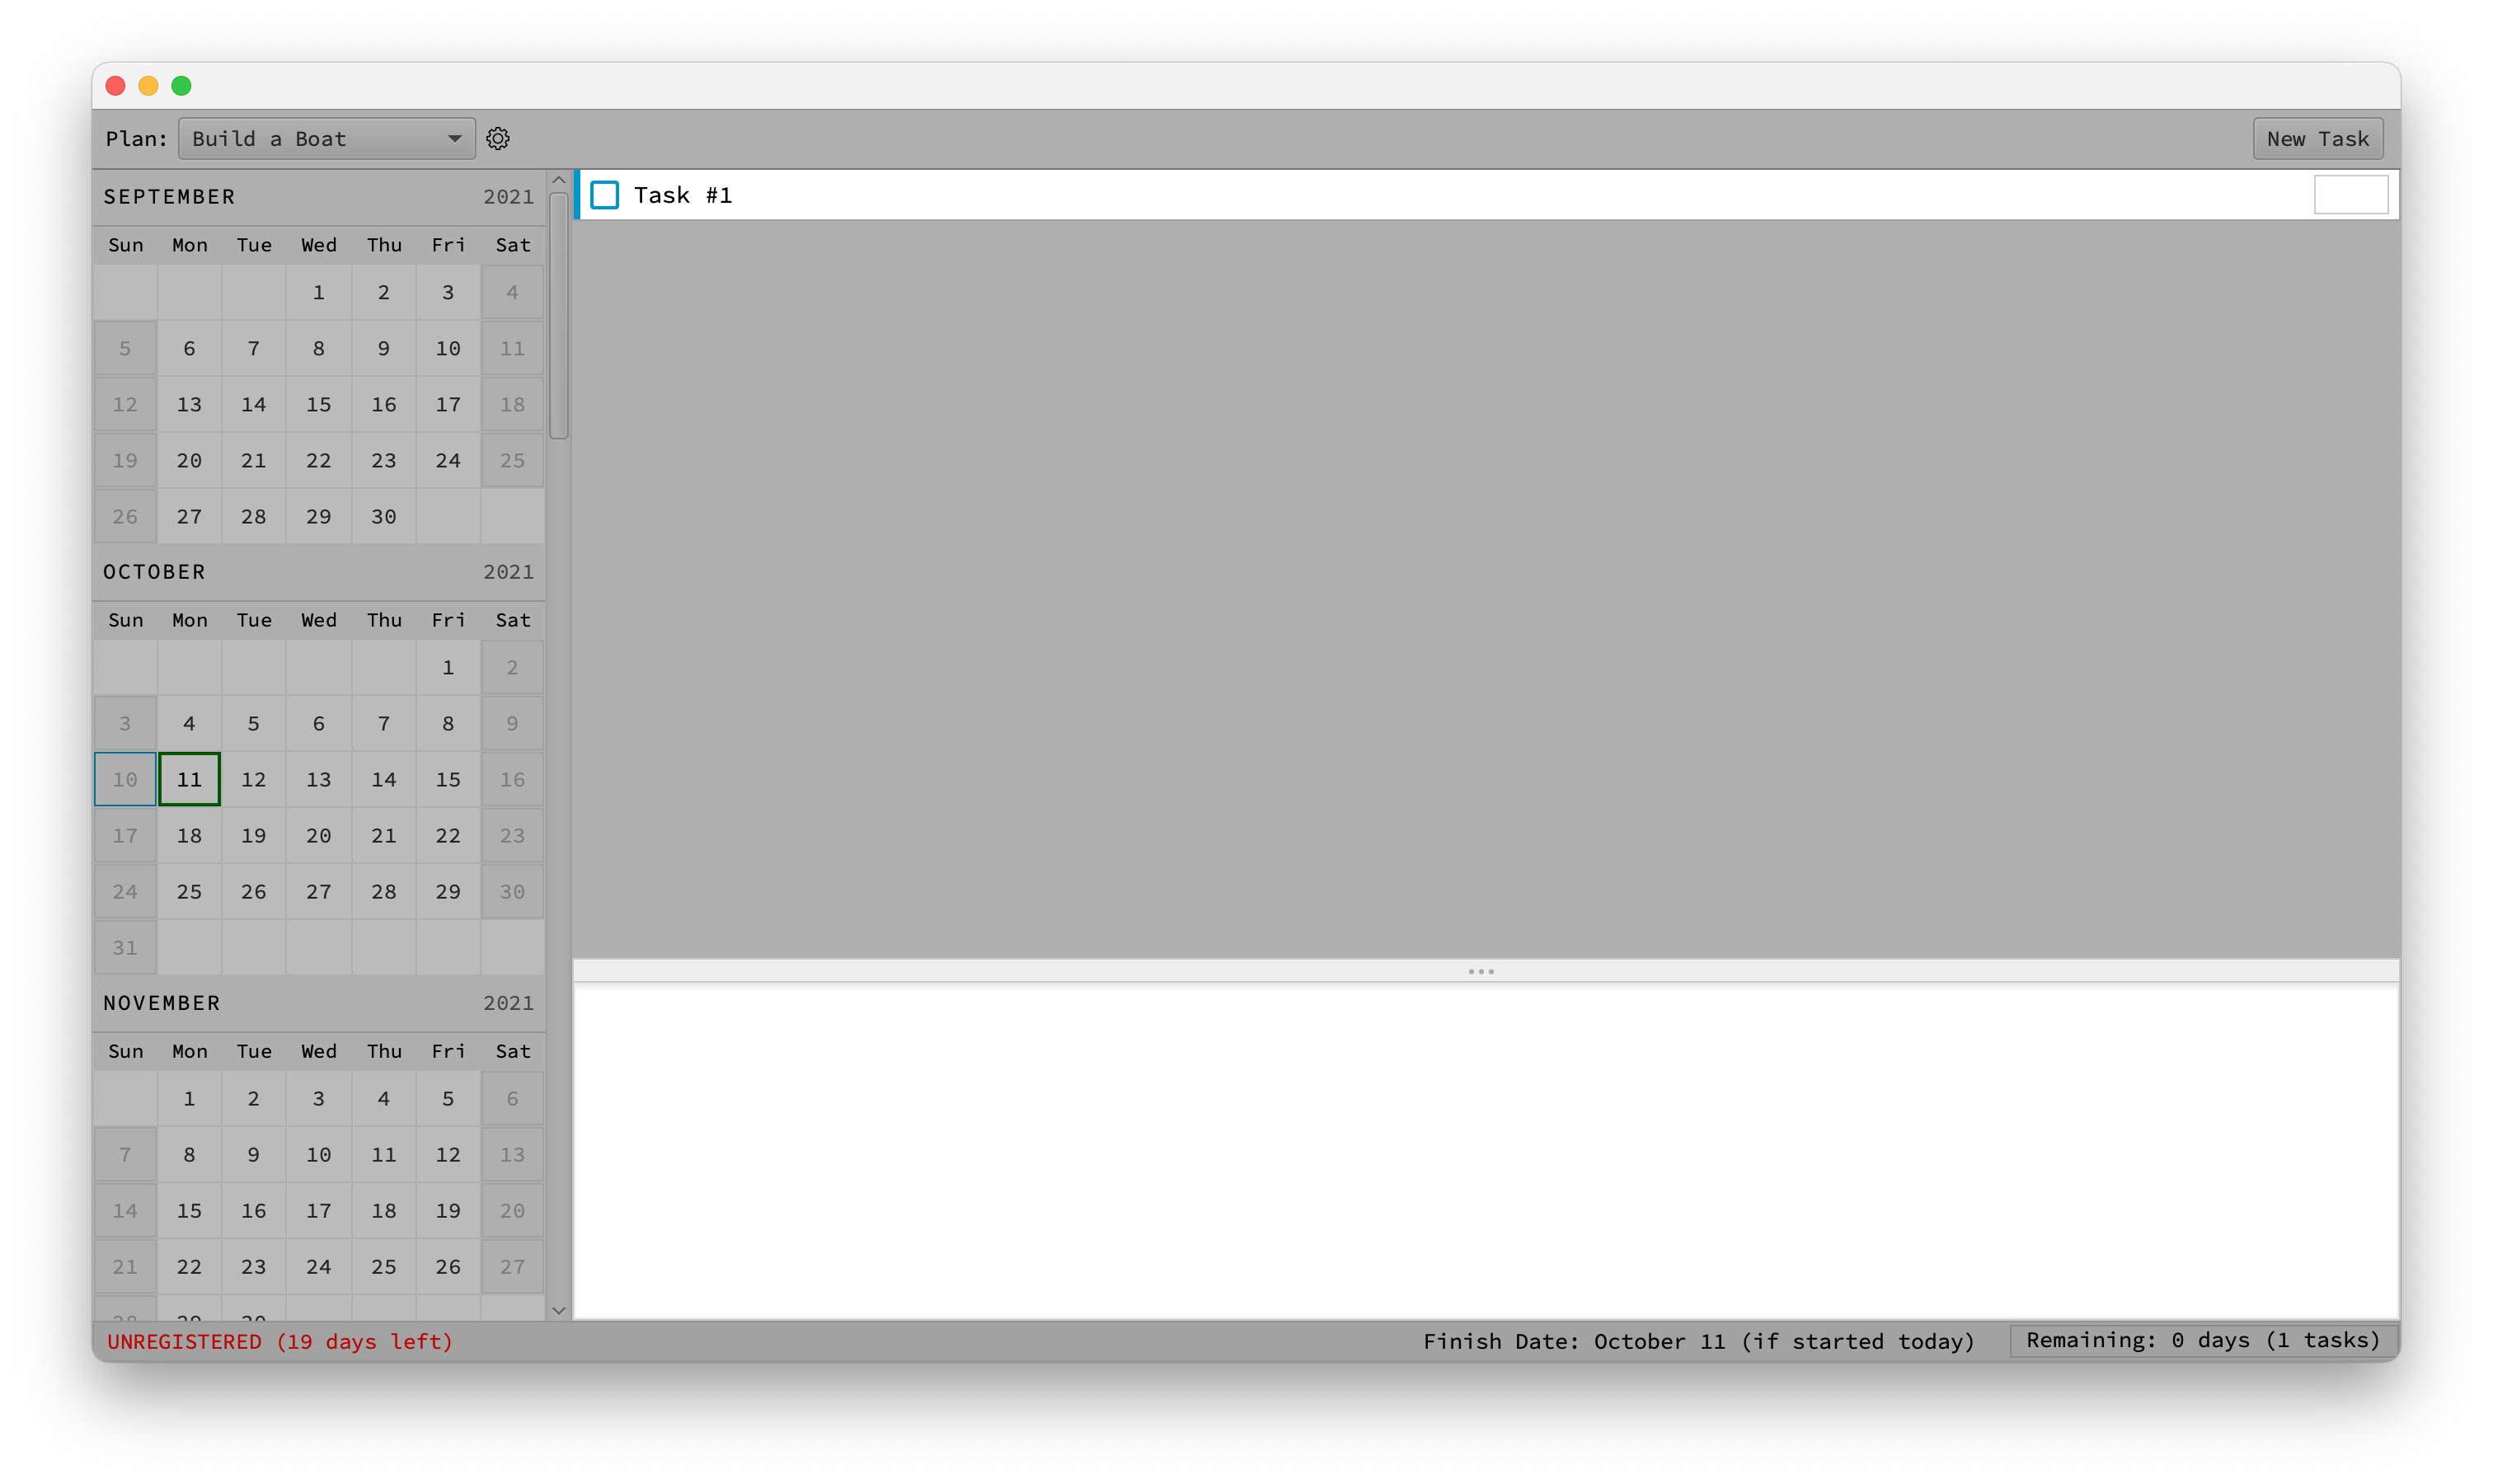 Type in our first task's name,
 Collect materials and tools,
then press Command+T or Control+Enter
to create the next task.
Type the second task's name, Create the center rib and transom, and
Command+T or Control+Enter again to
create the next task.
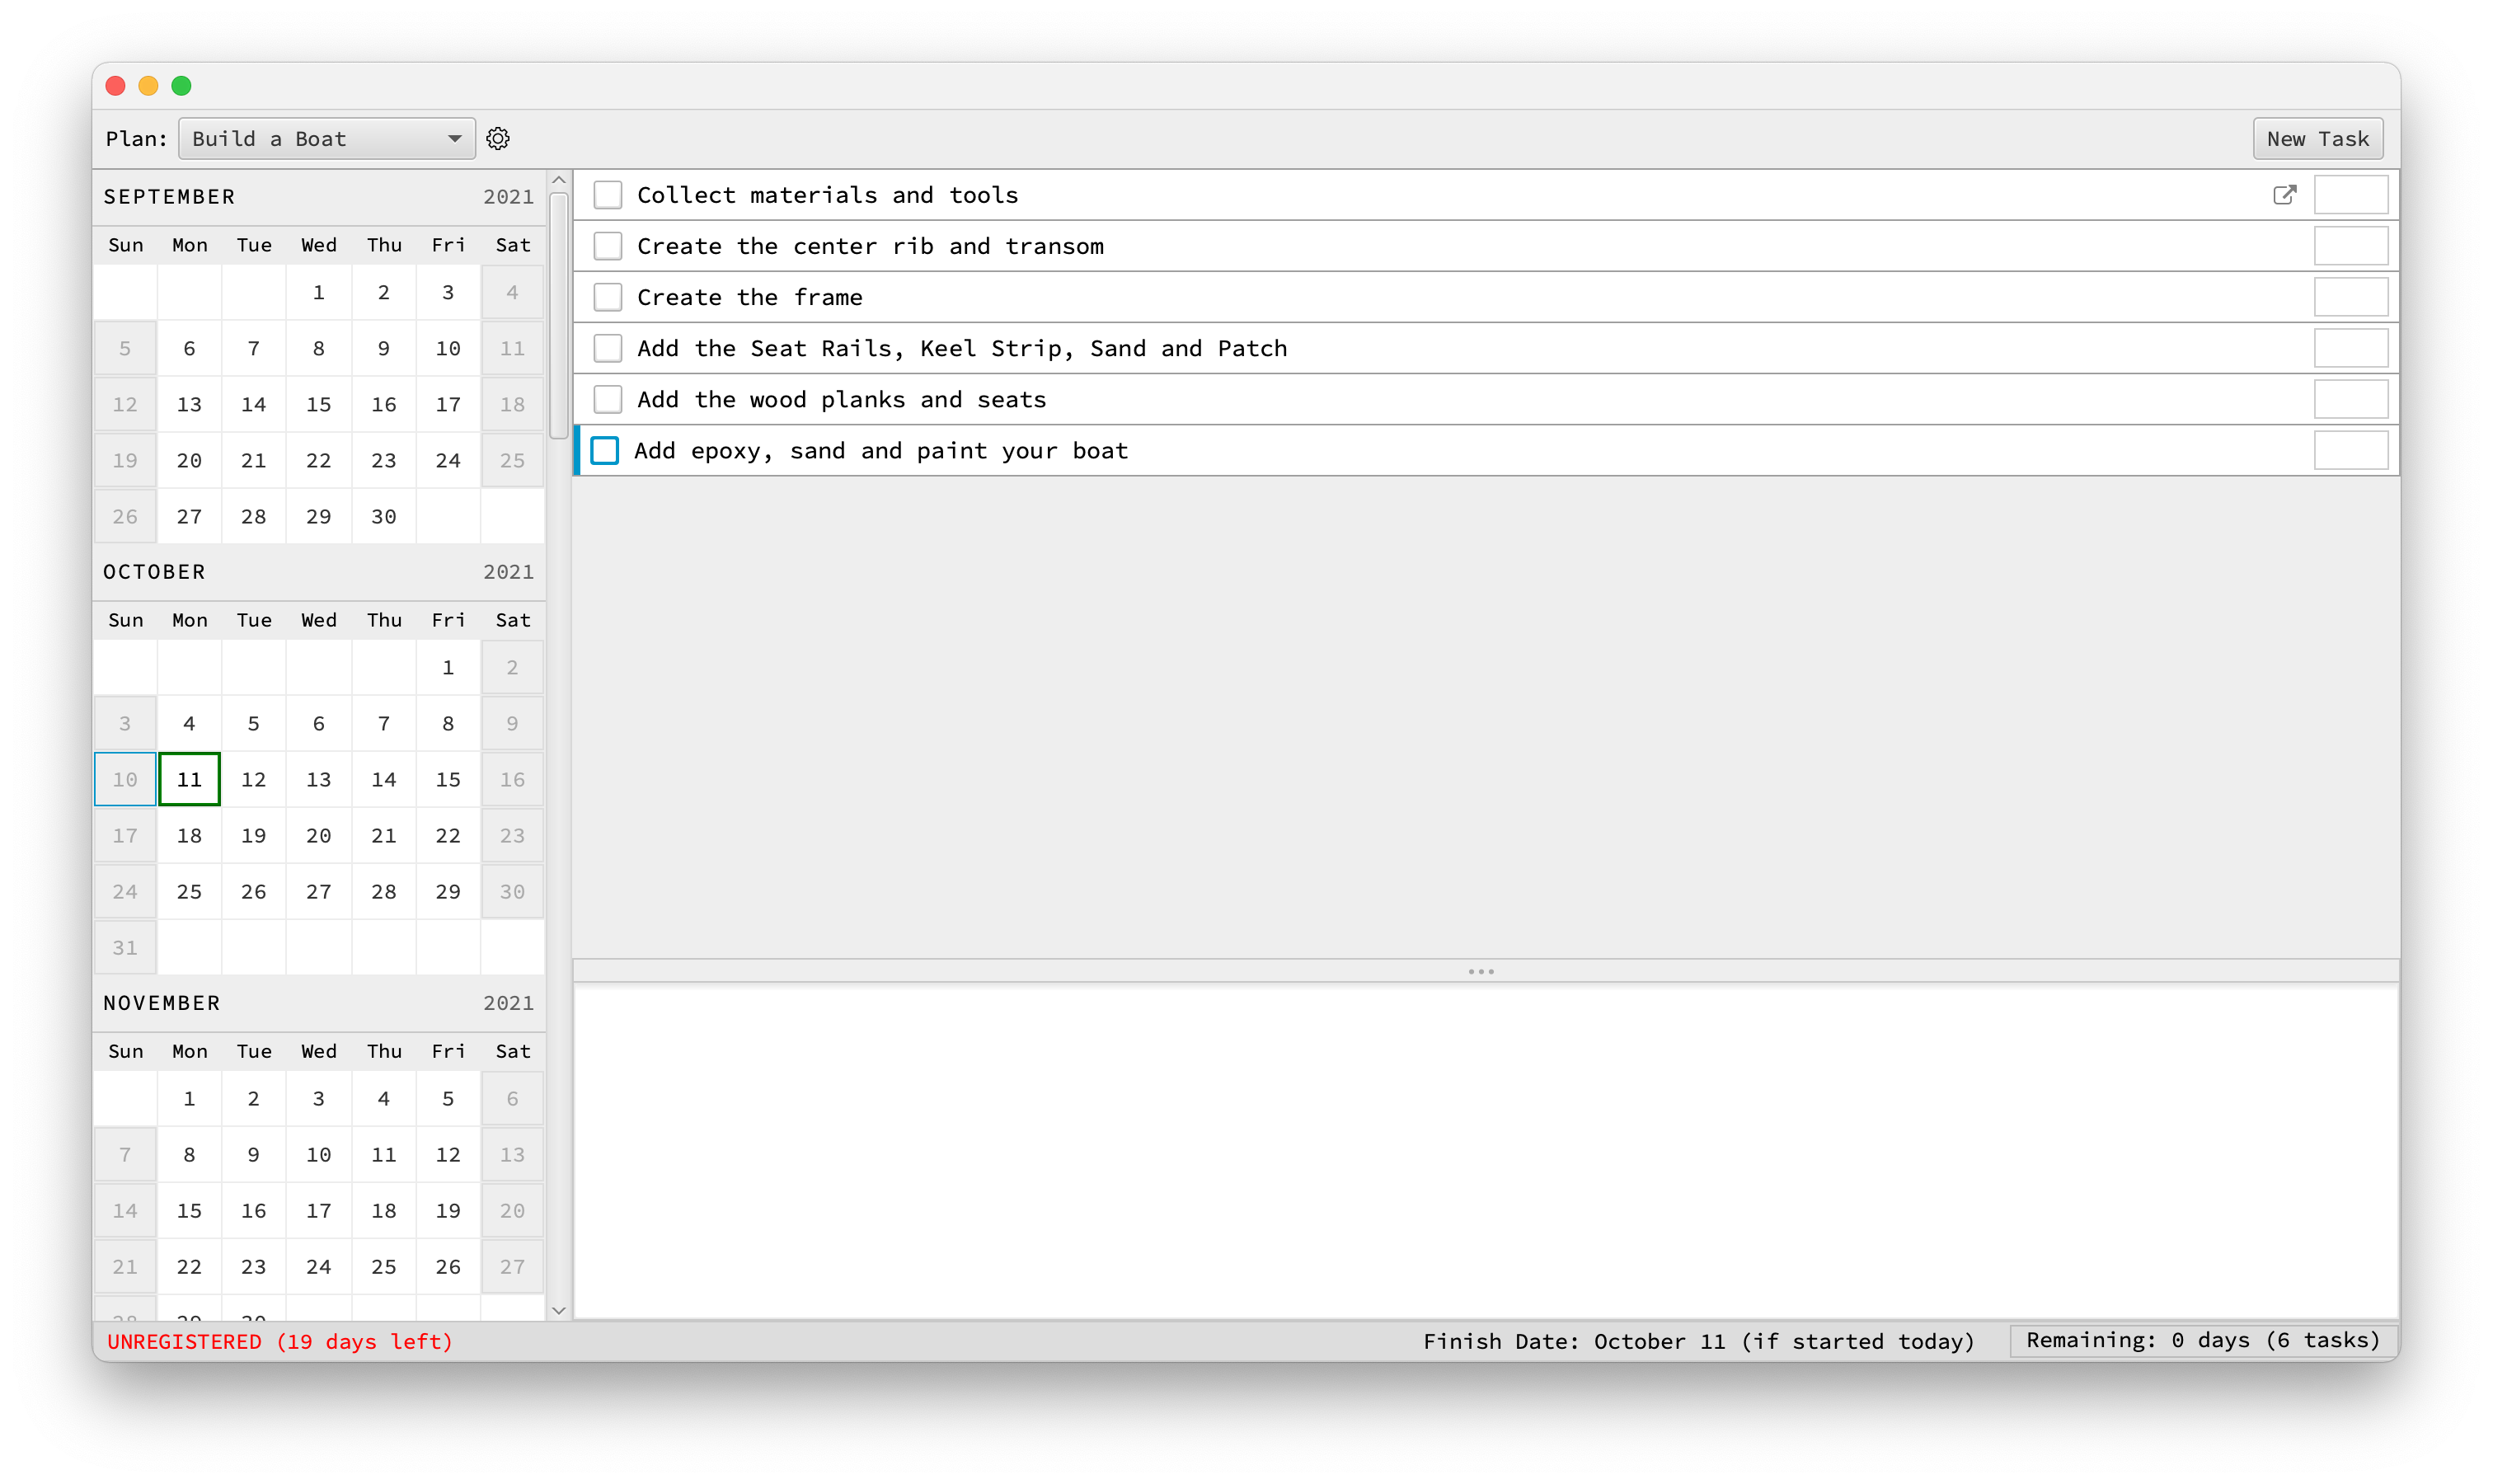
Continue creating the remaining tasks this way,
Create the frame
Command+T
Add the Seat Rails, Keel Strip, Sand and Patch
Command+T
Add the wood planks and seats
Command+T
Add epoxy, sand and paint your boat
Finally, press Enter to finish.
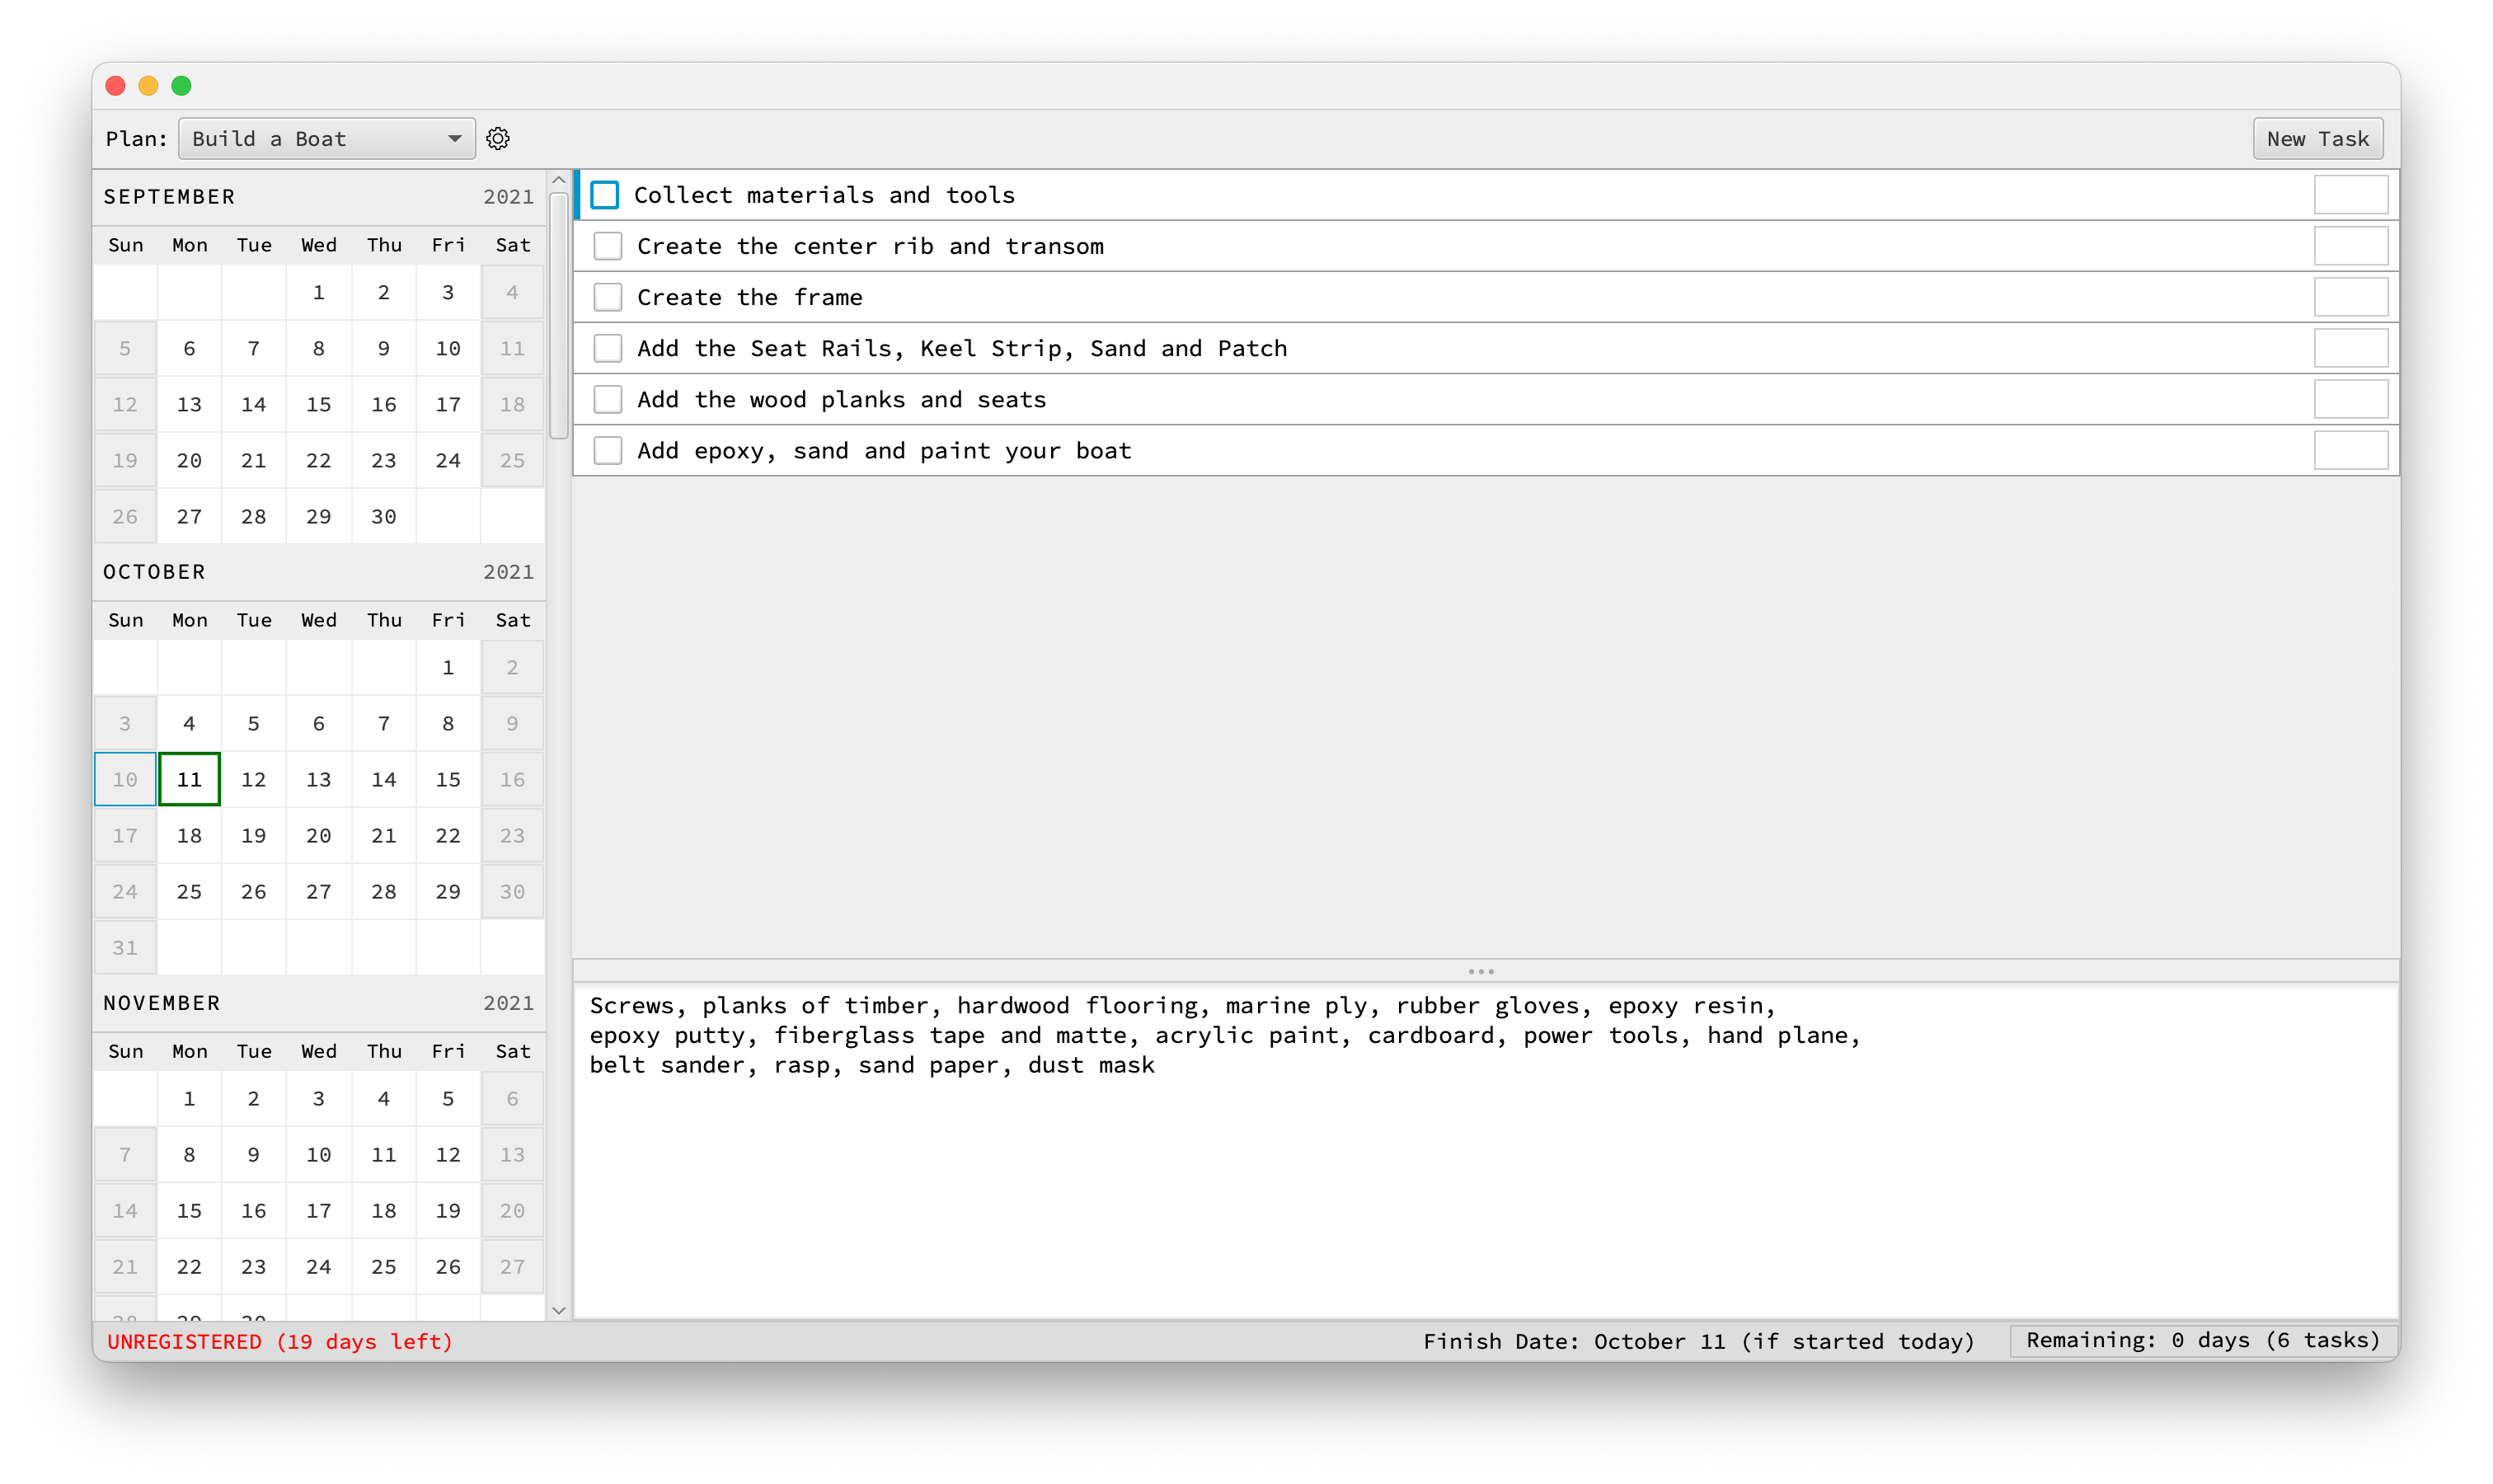
Your initial plan should look like this:
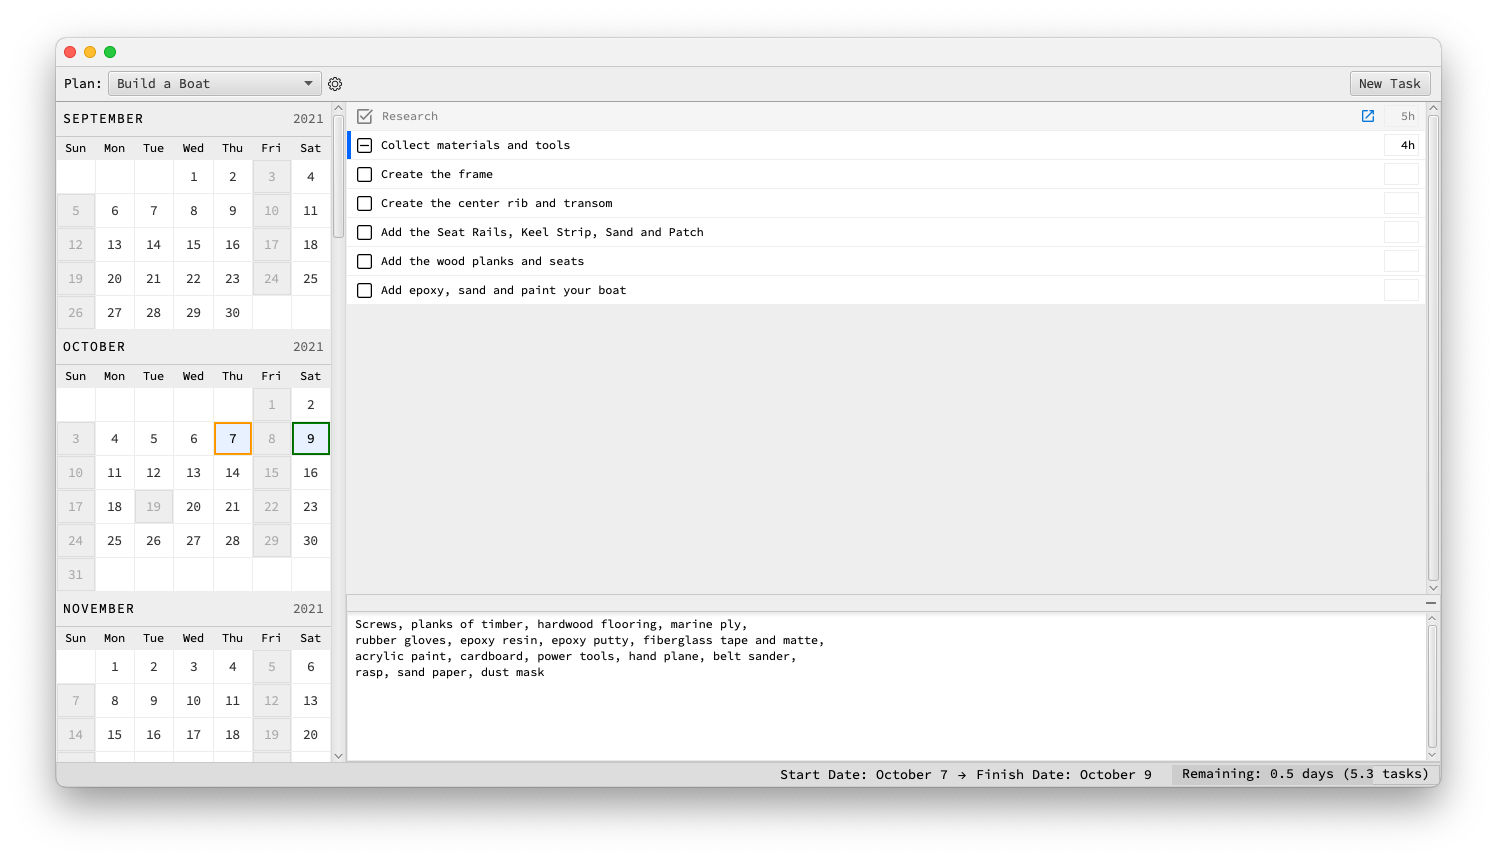
First, select and copy the following content into your clipboard:
Screws, planks of timber, hardwood flooring, marine ply,
rubber gloves, epoxy resin, epoxy putty, fiberglass tape and matte,
acrylic paint, cardboard, power tools, hand plane, belt sander,
rasp, sand paper, dust mask
Click on the first task, or use K (or the up arrow)
to move the focused task to the first in the list.
Double-click or press Enter to switch to edit mode.
Click or press Tab twice to cycle focus to the task notes editor.
Press Command+V to paste your notes.
Then press Esc to save and exit editing mode.
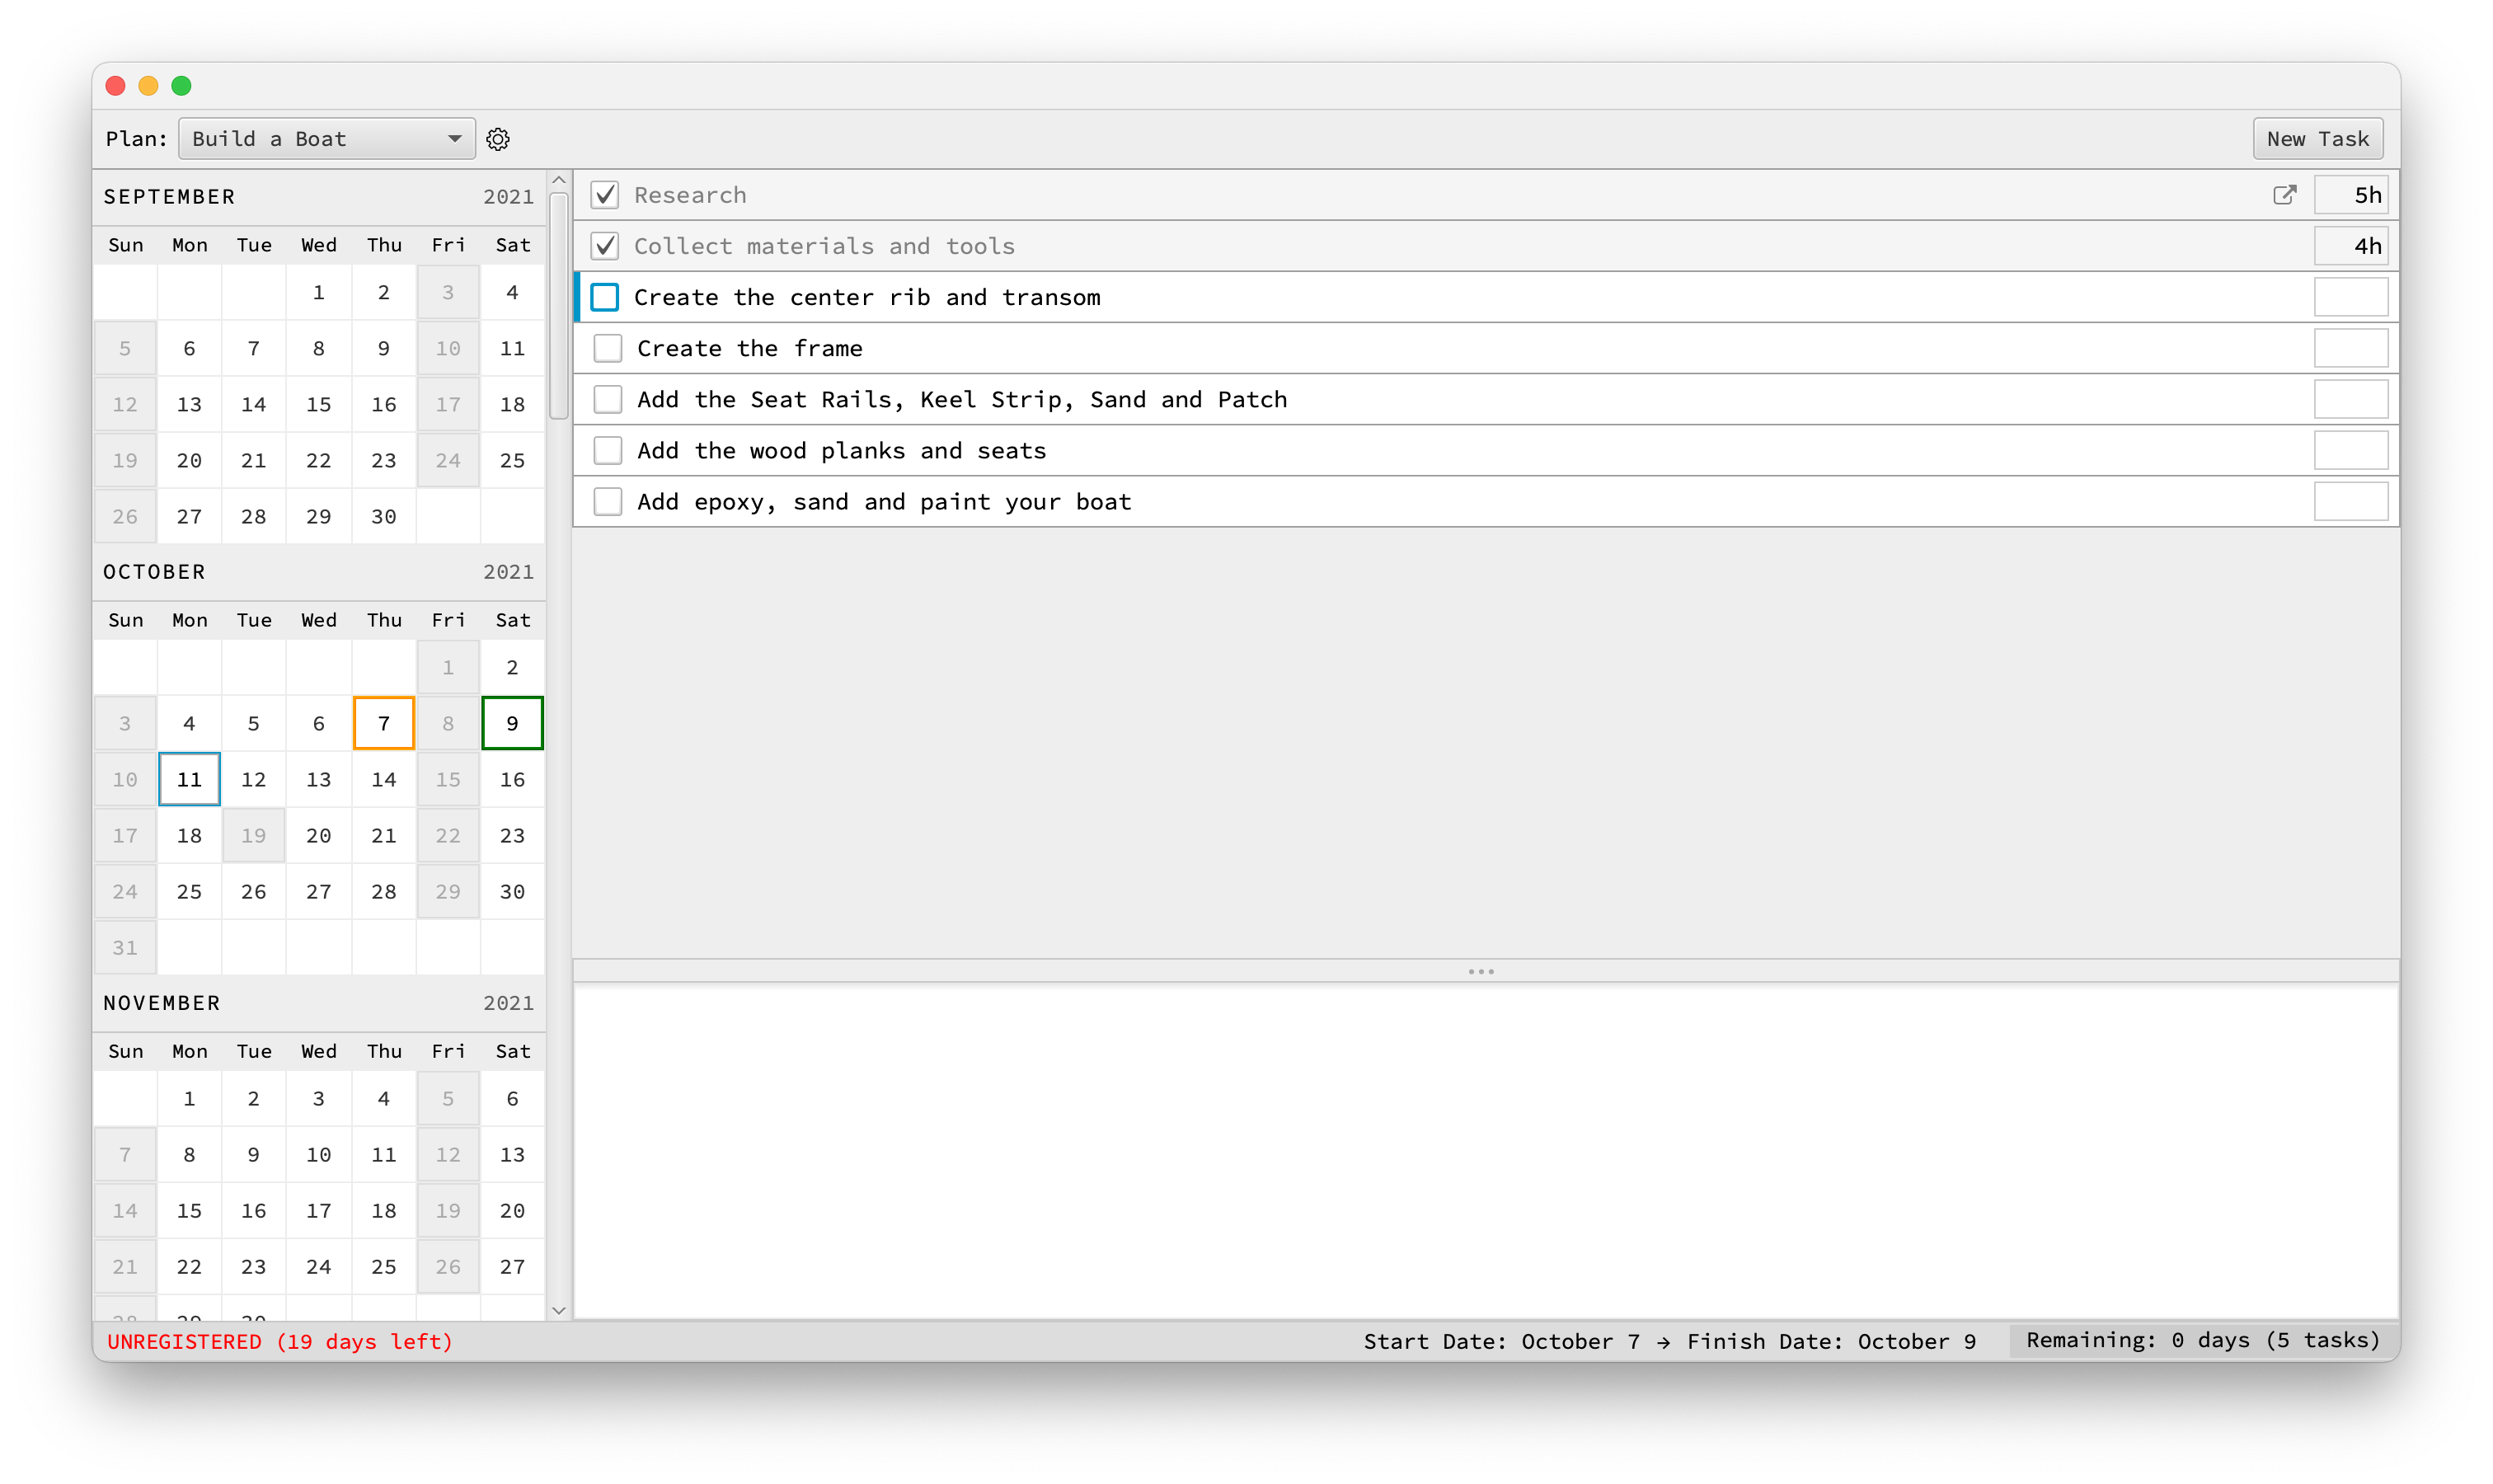
In real-world projects, we will inevitably — and regularly — find ourselves shifting priorities and/or discovering new tasks on our way to delivering our outcomes.
Suppose in the process of drafting our first plan we began to do a little more research on boat-building.
Since this is work directly related to our project we'll introduce
it as a newly discovered task using Command+T and
give our task a name, Research.
While in editing mode, we can add some notes to our new task.
Press Tab to cycle focus to the notes editor. Then paste:
* https://en.wikipedia.org/wiki/Boat_building
Esc will save and exit editing mode.
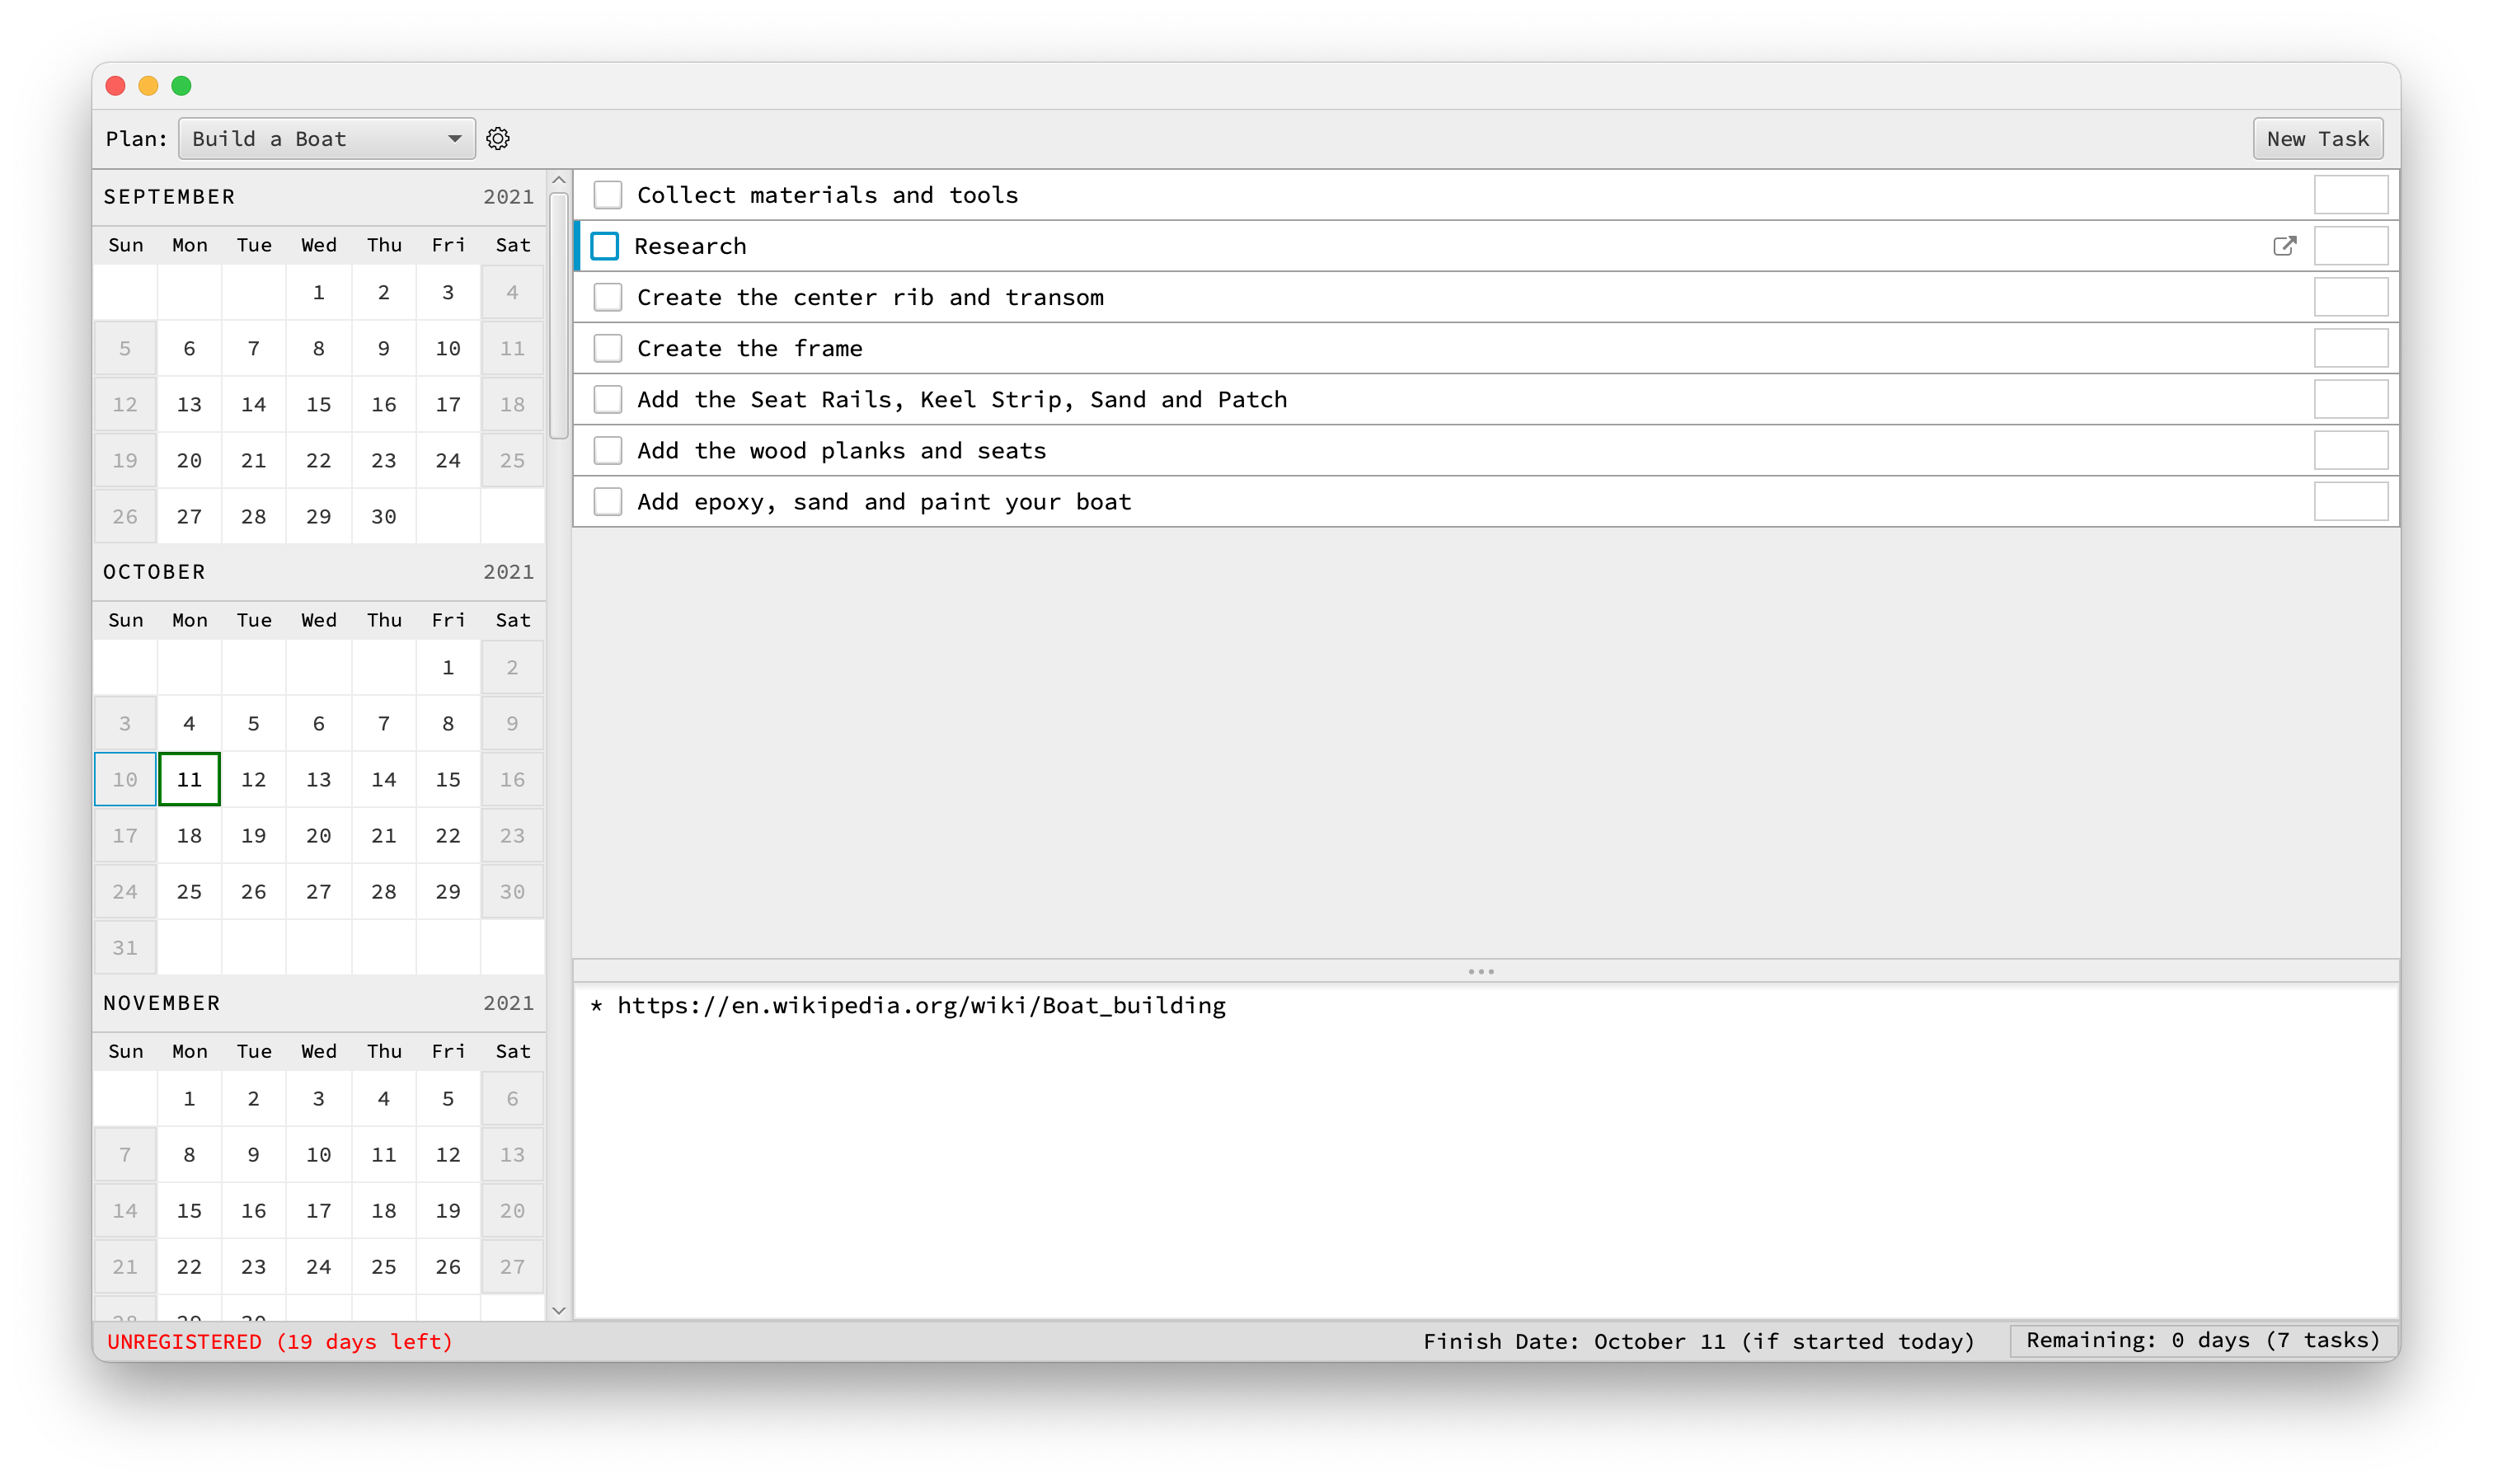 Note the link now rendered to the right of our
 Research task.
This is a task link — Chronos detects all links and renders
them as clickable external links within the tasks row for easy access.
A common use case for task links is when we wish to associate our personal tasks
with issue tracking tickets (eg in Jira, Github issues ,etc), VCS/Github PRs and/or other
task-related resources, even including local files (using the file://
URI scheme).
More info about task links can be found here.
We would like our Research task to be the first task in our plan.
When the task has focus, we can use Shift+K or Shift+Up
to move it up and make it the first task:

Alternatively, tasks can also be re-ordered by right-clicking the task
and selecting Move Task Up/Down.
We can update our plan, its tasks, and its estimates in Chronos at any time in the lifecycle of our project.
No Work Days
We generally plan to work on our boat Monday through Thursdays — and Saturdays. In Chronos this means our "No Work Days" are Friday and Sunday.
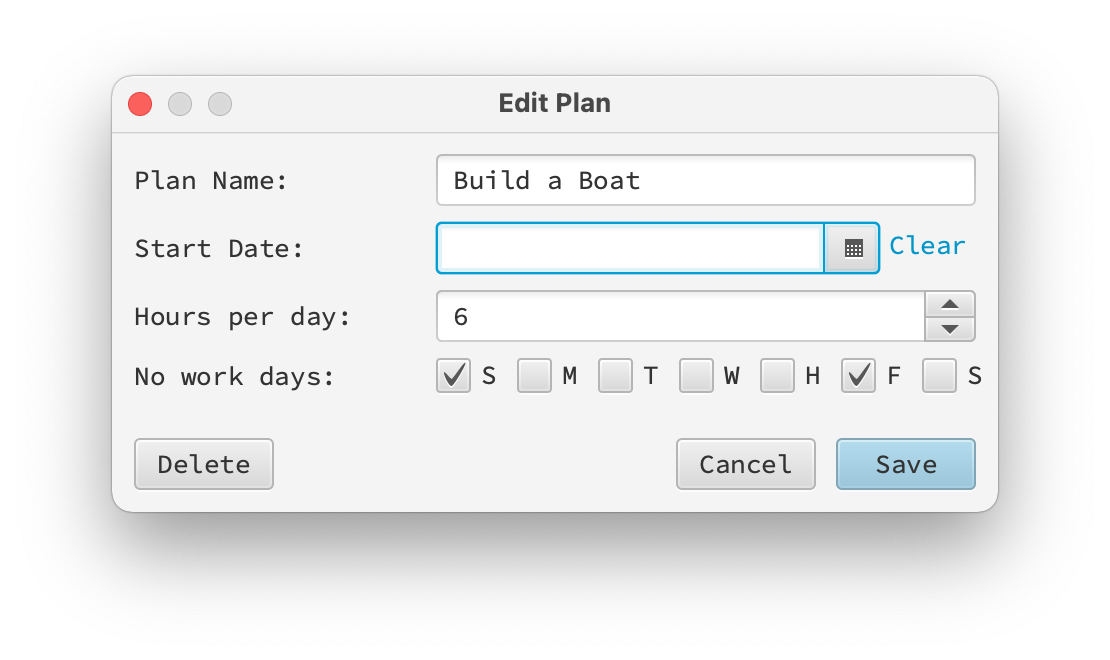
Use Command+P to open our Plan Settings. Change the
default No Work Days to Friday and Sunday:
 Click
Click Save or press Enter.
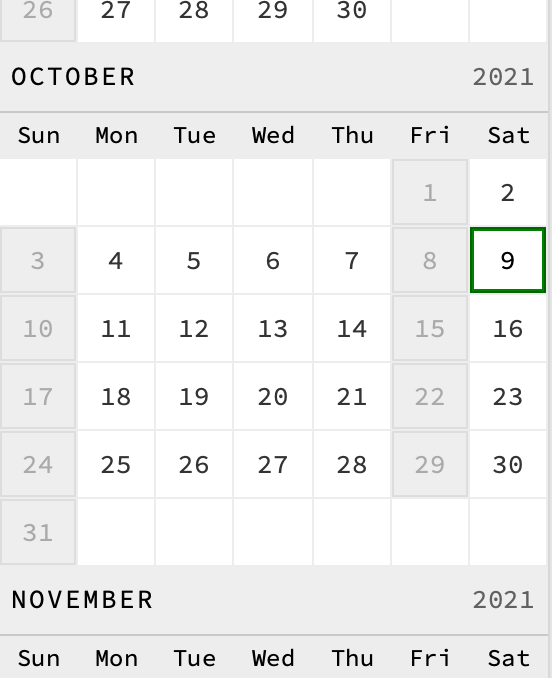
Our Calendar now shows the new No Work Days in gray.
(Your Calendar view will show different dates than mine. I'm creating this tutorial on Saturday, October 10th, 2021.)
Holidays (Explicit No Work Days)
Of course in the real world, we also have non-regular (non-weekend) off-task days where we aren't "on task" because of meetings, or we're sick or on holiday, or for other reasons.
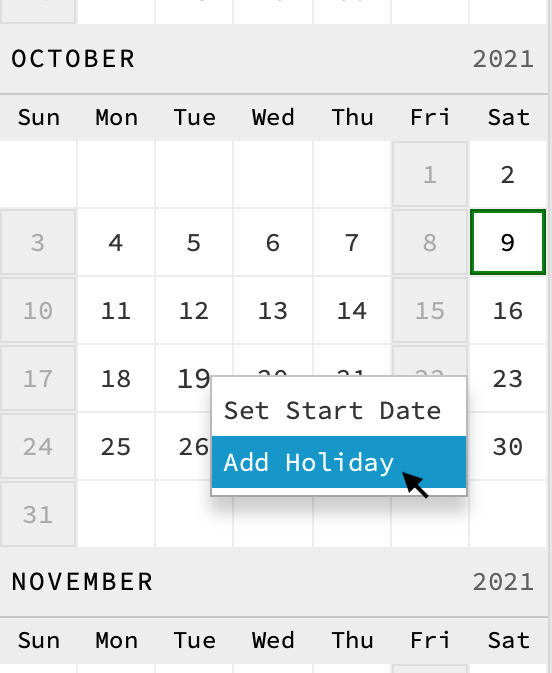
I'm going to take October 19th off, so I'll right-click that date and
choose Add Holiday:
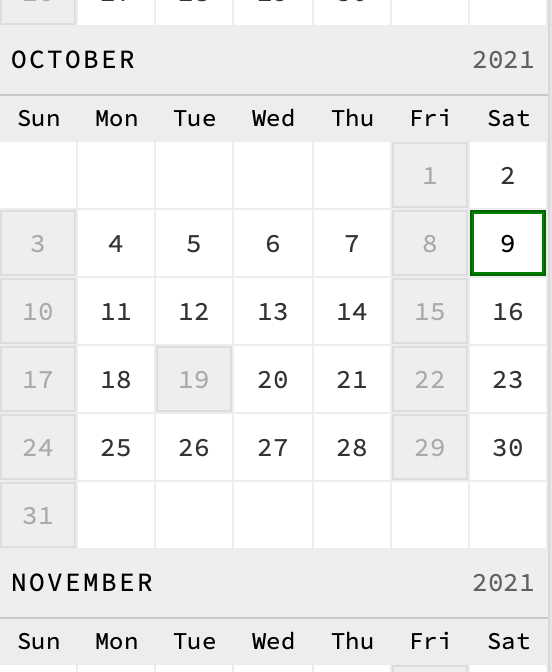
Now the 19th is grayed out (and won't contribute to our Chronos on-task history or projections):
Holidays can be added and removed at any time.
Recommendation: Mark holidays where your on-task time for a given day is much less than your normal on-task time, due to meetings or other distractions, for example.
As we've mentioned, we have already started working on our project by spending a few inspired hours on research.
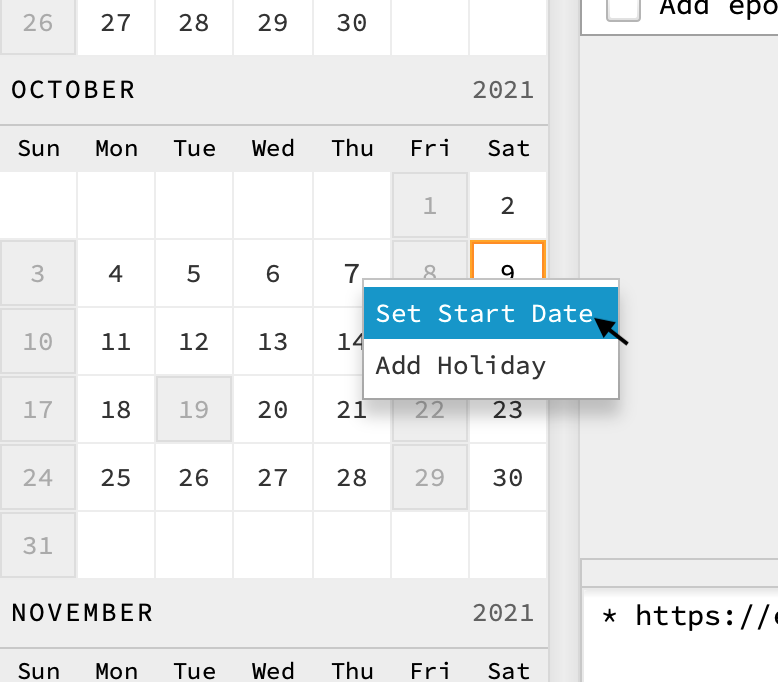
Now we can set our official Start Date in Chronos. This can be done
from the Plan Settings or by right-clicking the date (for my
example, it's Thursday, the 7th) and choosing Set Start Date.
With our start date set, we should see the start date in the Calendar with an
orange border, and today's date with a blue border:
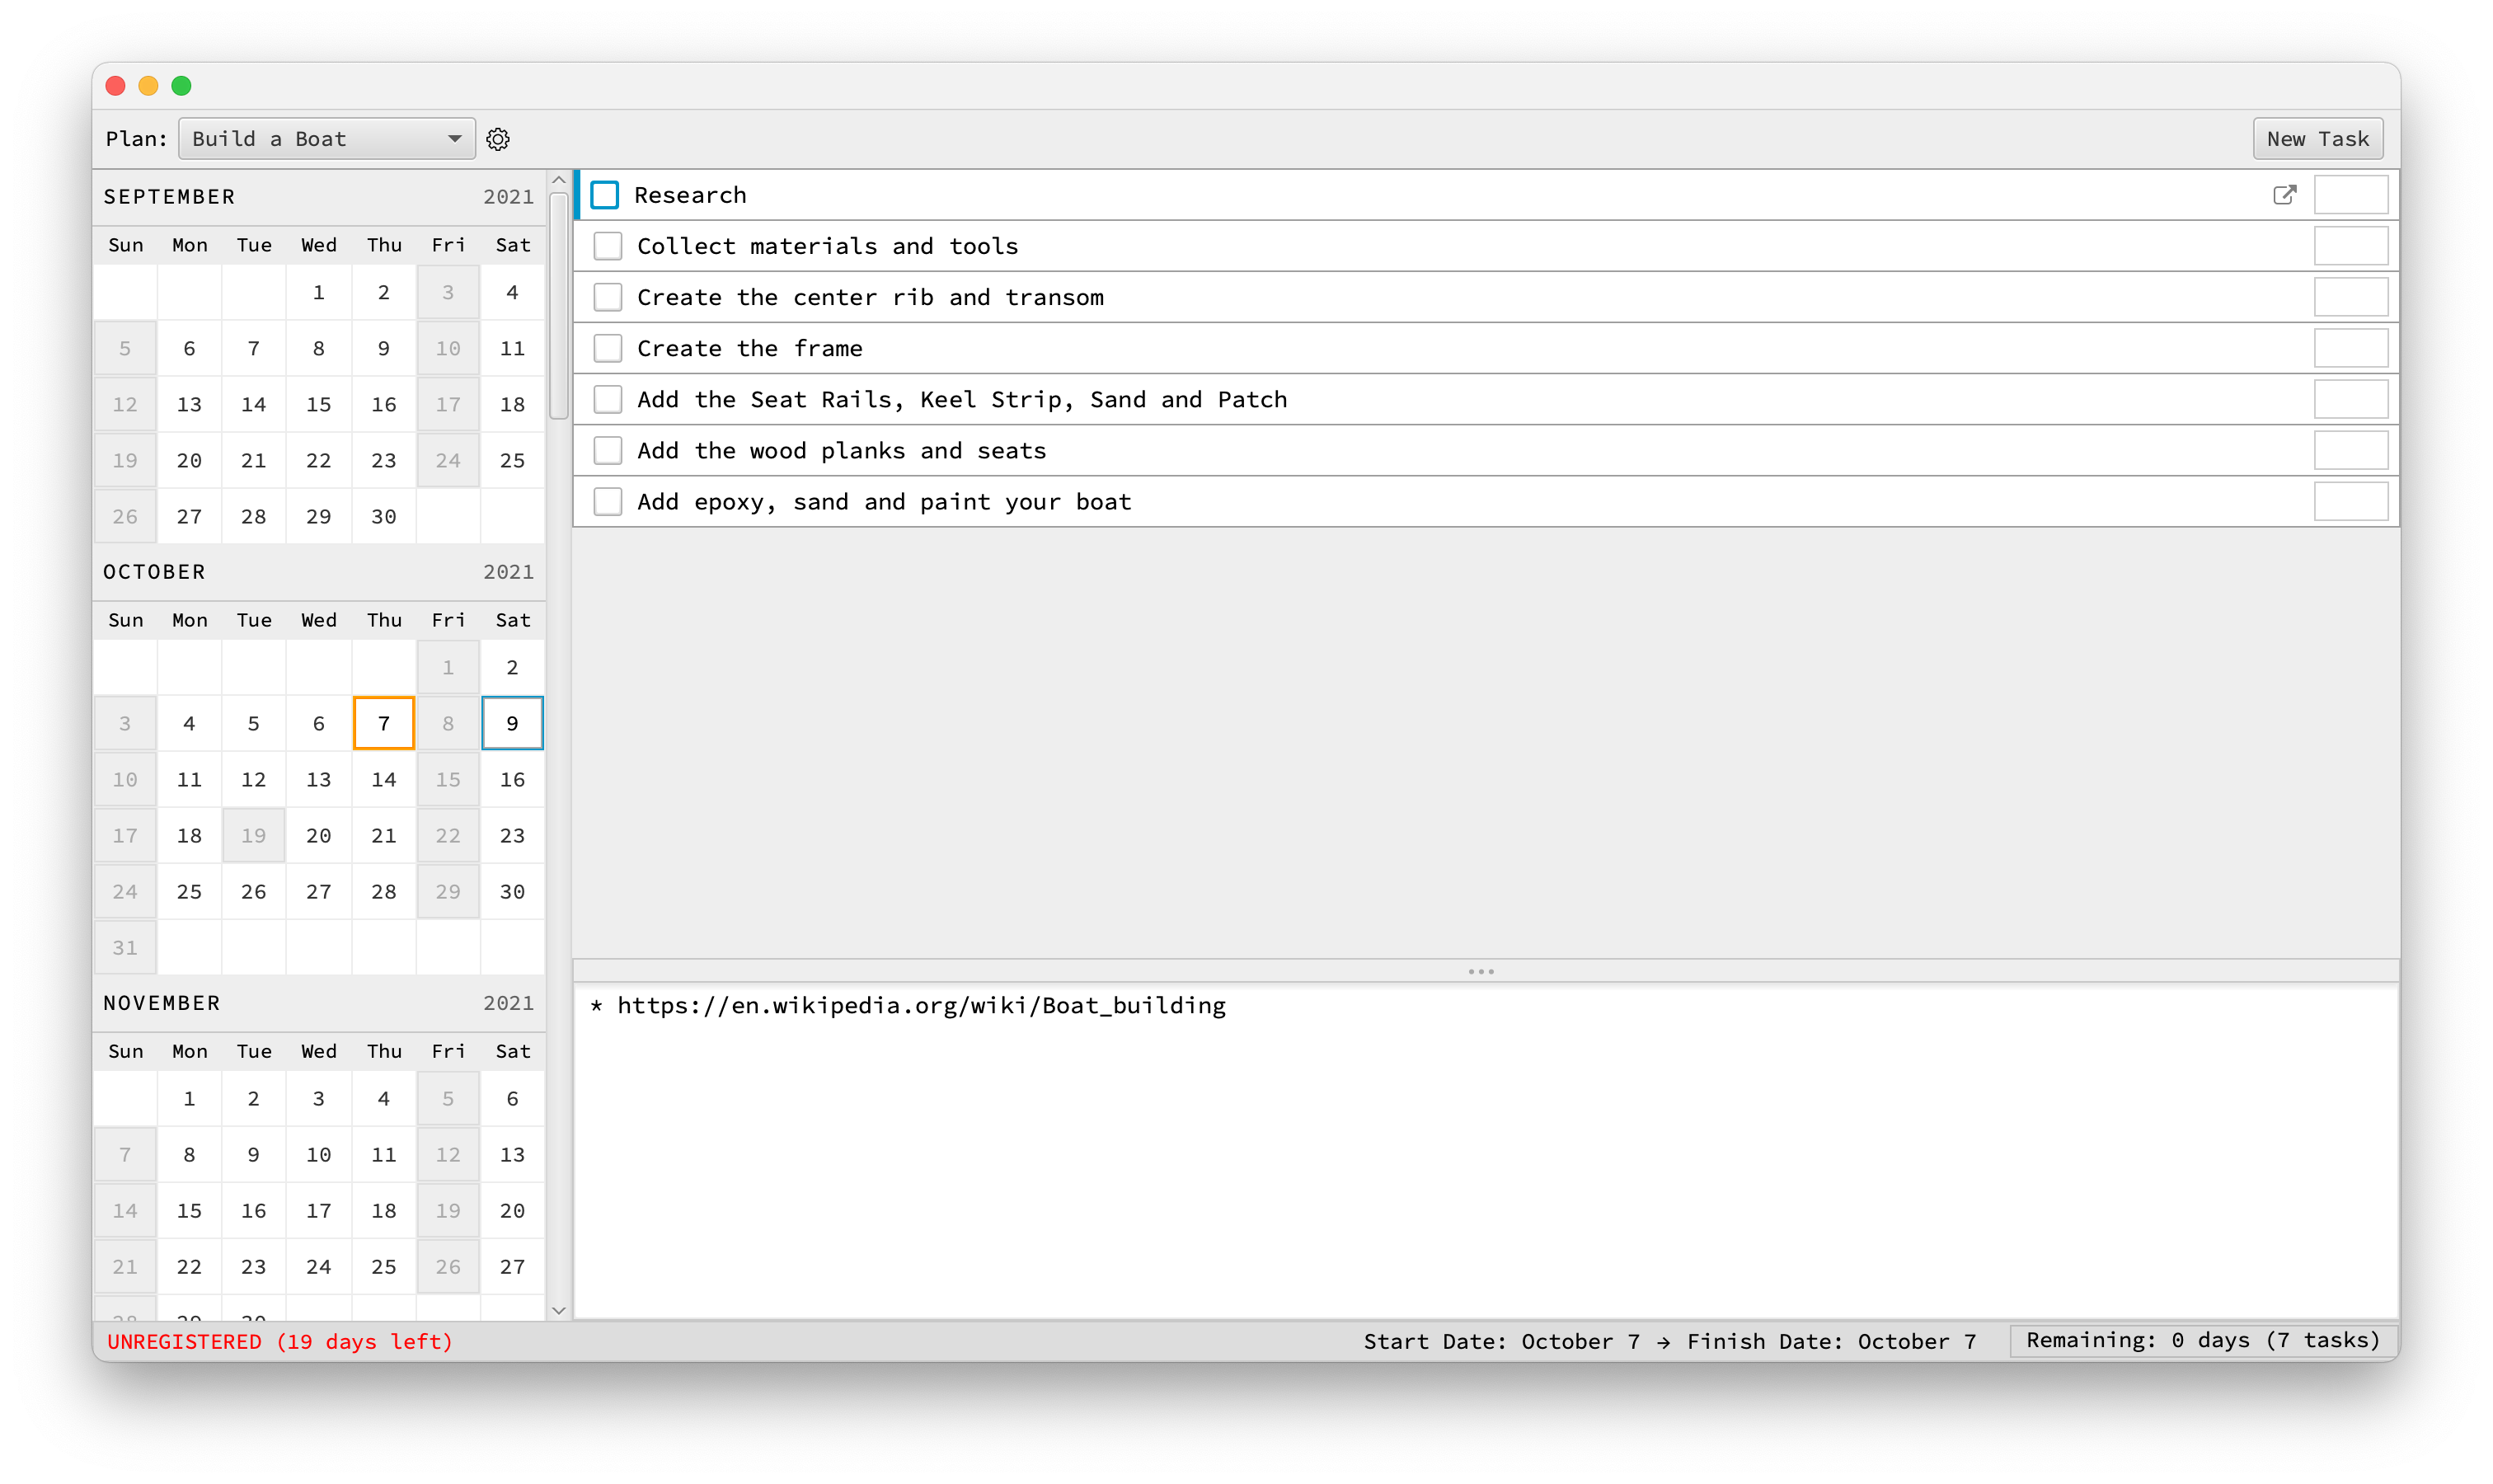 The status bar now also shows the explicit Start Date.
Start Dates can also be set in the future (which is also useful when drafting plans and alternate future scenarios). Start Dates can be modified at any time before or during a project.
Our Research task is now complete. How do we mark it as completed?
Unlike with traditional task apps, in Chronos we won't explicitly check-off a completed task.
Instead, we follow a simple rule and update a task's estimate to reflect its completion.
Our research took approximately five hours of time. Move focus to the first task
and press Enter, then Tab and type 5h.
Then press Enter to commit the estimate.
Based on our project's Start Date and our new estimate, Chronos
can infer that the task is completed; and we now see that it is checked off in our
task list:
 This may seem somewhat indirect, but this process will
quickly become second nature and by following
the basic rule you will always have a precise record of your
past time spent on any task.
This may seem somewhat indirect, but this process will
quickly become second nature and by following
the basic rule you will always have a precise record of your
past time spent on any task.
After our research, we move on to the next task in our boat-building plan: we visit the hardware store and purchase our list of materials.
This took four hours and we're ready to check off our next task, so we
update the estimate for the Collect materials and tools task
to 4h.
But wait! The task is not yet marked as fully completed by Chronos:
 Instead, the checkbox is rendered indeterminate, like this:
 .
.
Based on
the data Chronos has (our Start Date, the estimate of tasks
leading up to our present one—and the weekends and holidays we've
marked), Chronos has calculated that our task is due and
will be complete sometime today.
We know this is correct because we've made our estimates accurate.
So we simply
move on to working on our next task. When our next work day arrives (Monday),
Chronos will render our task as complete:
 Note here that the current day — Monday — is outlined in blue.
Using this simple method, we end up with a perfect record of our historical time spent as our project is executed.
Important Note: Conversely, if Chronos checks off a task that we have not yet completed, the solution is simple: we simply revise (expand) our estimate so that its inferred due date is in the future.
As you grow in mastery and evolve your professional craft, you will see increasing value by not just "estimating" the past (as we've done so far) but by estimating the future.
Estimates for future tasks are not required by Chronos: we can estimate or re-estimate any future task whenever we want.
Using our Chronos editing skills, let's estimate our next three boat-building
tasks at five days (5d), eight days (8d),
and four days (4d), respectively:
Note that as we add and update estimates in Chronos, the projected finish date is reactively updated in the status bar (and reactively reflected by the green border in the Calendar), with respect to our Plan Settings and our No Work Days and Holidays.
Let's fast-forward time a little, to the point where we've finished with a few more tasks.
(At this point it may be difficult to follow along hands-on, since we're simulating what our project looks like days later.)
Here's where things look for me in Chronos after I've finished most of
my boat's structure:
 All of the relevant tasks have been completed and have passed their due date,
so Chronos has them checked-off.
All of the relevant tasks have been completed and have passed their due date,
so Chronos has them checked-off.
Also note that all of my original estimates have changed from their original values. They've been updated along the way to reflect the completion status of each task, and because I've followed the Chronos way of checking off tasks, my Chronos data now accurately and precisely represents the actual time I spent on each task.
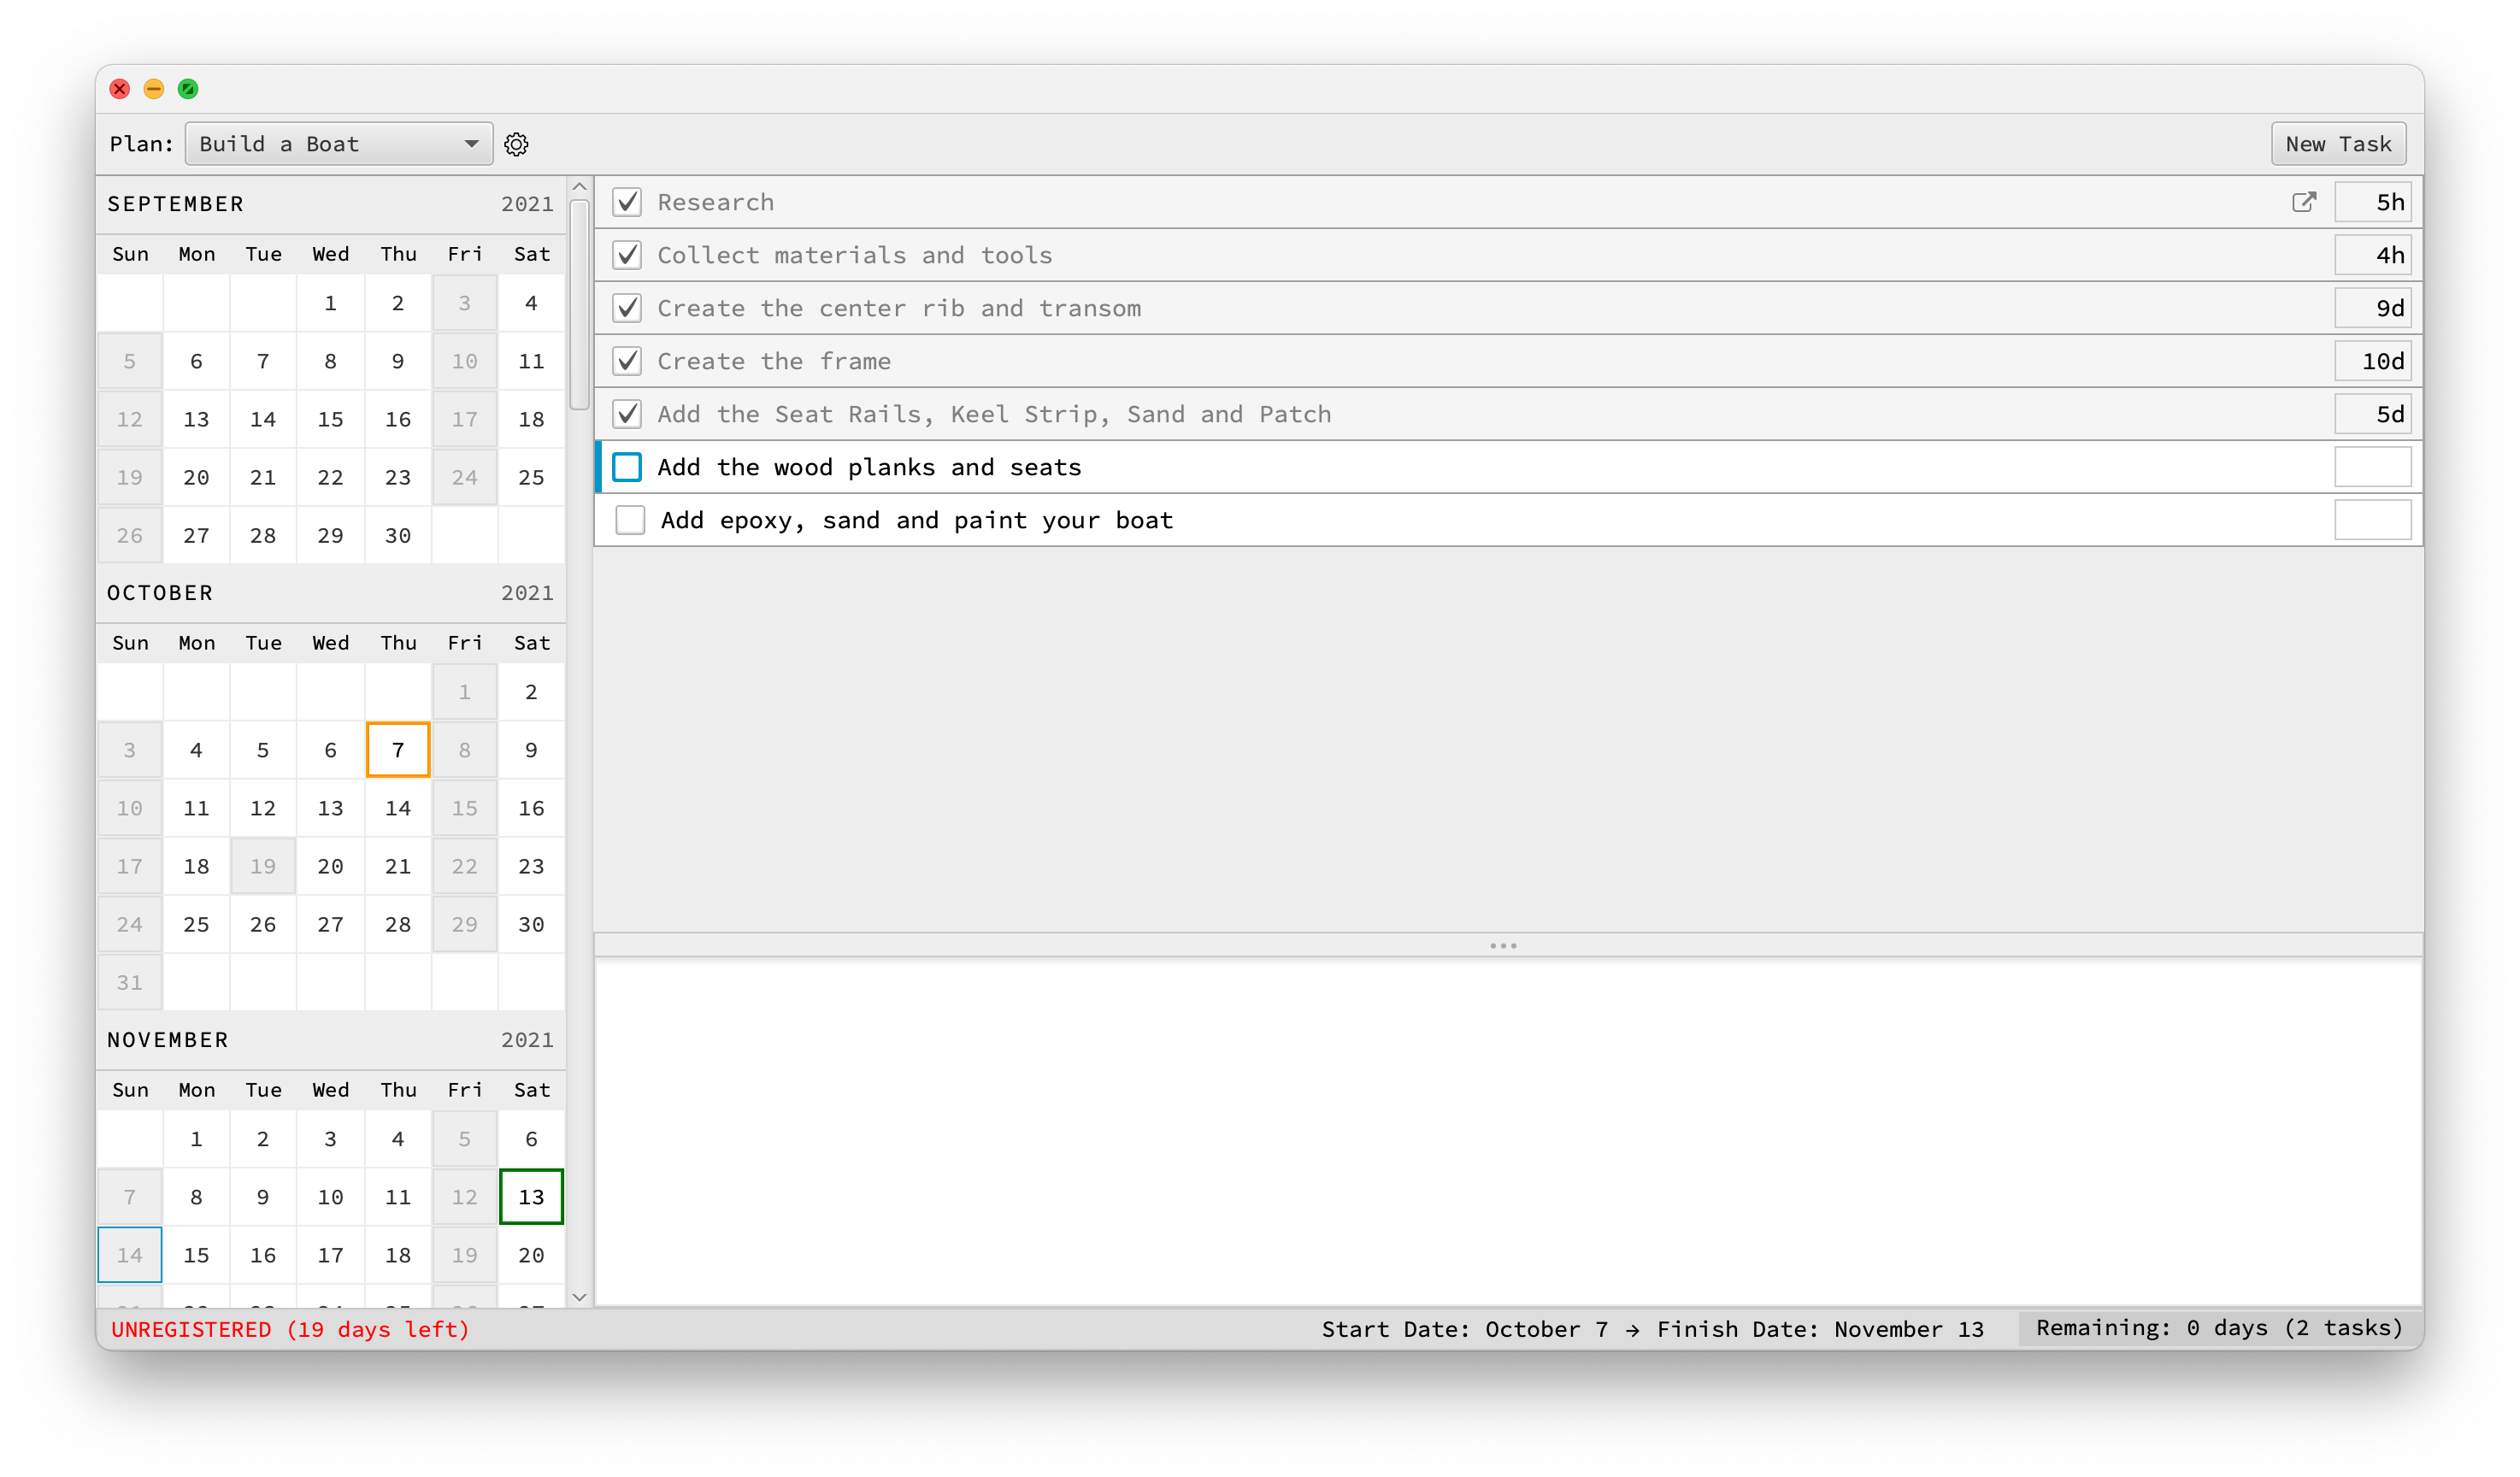
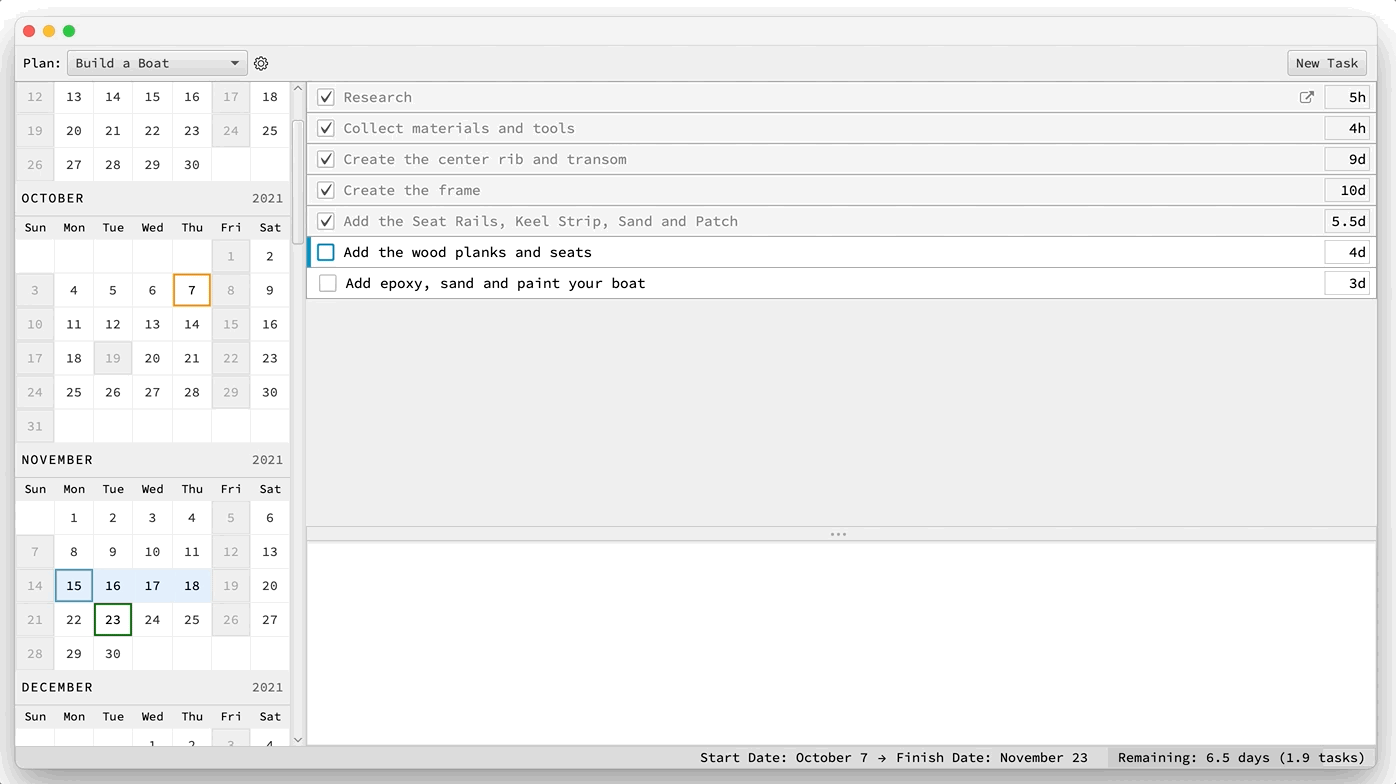
Feeling confident, I'm ready to estimate the remainder of my tasks.
I'll estimate the Add the wood planks and seats task at
four days (4d) and the last task Add epoxy, sand
and paint your boat task at three days (3d).
Now my plan looks as follows:
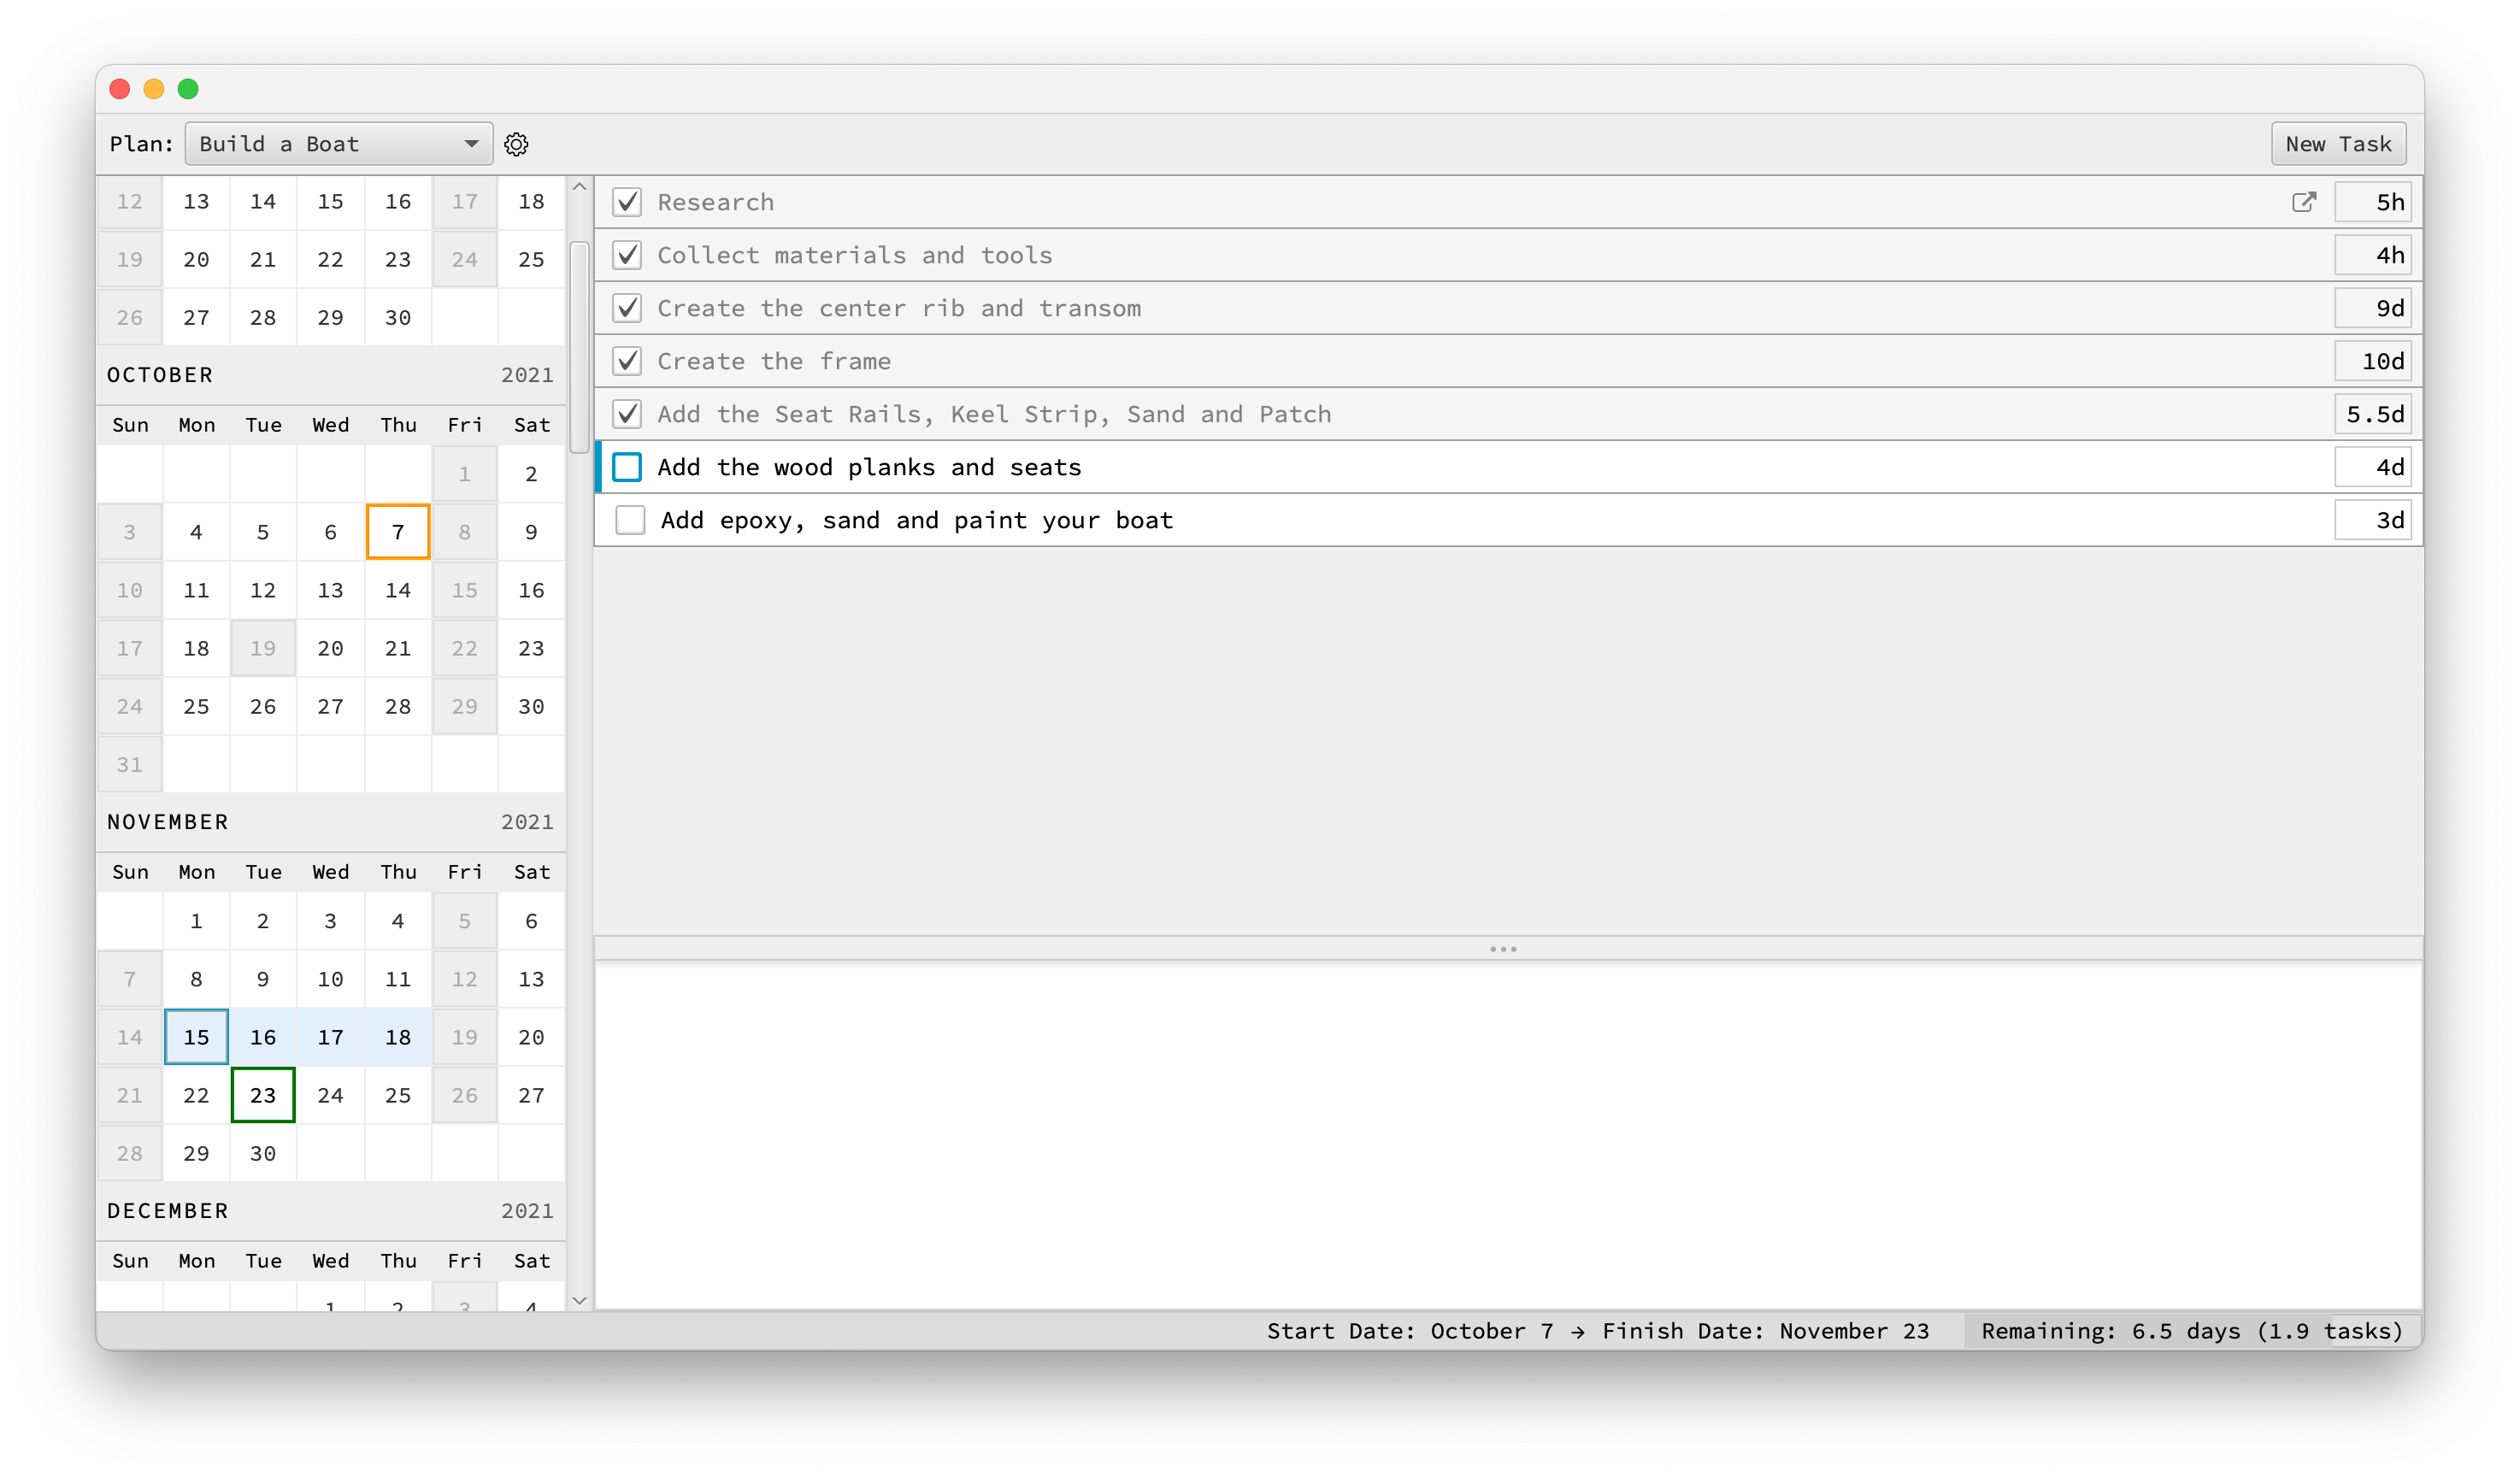 There are some important things of note here.
One, since my tasks are now all estimated, I can start to a get glimpse as to when my boat will be complete.
The status bar displays a projected completion date of November, 23rd. The calendar also displays a green border (□) around this date.
Secondly, I've placed the focus on my next task and the calendar shows me exactly which days (shaded in light blue) I'm projected to be working on the wood planks and seats.
Not only do I get a glimpse into what my future might look like, but because I have a perfect record of my time spent so far, I can move focus to my historical tasks and see precisely which days I was working on those, as well.
Watch the Calendar as I use J and K to move between tasks:
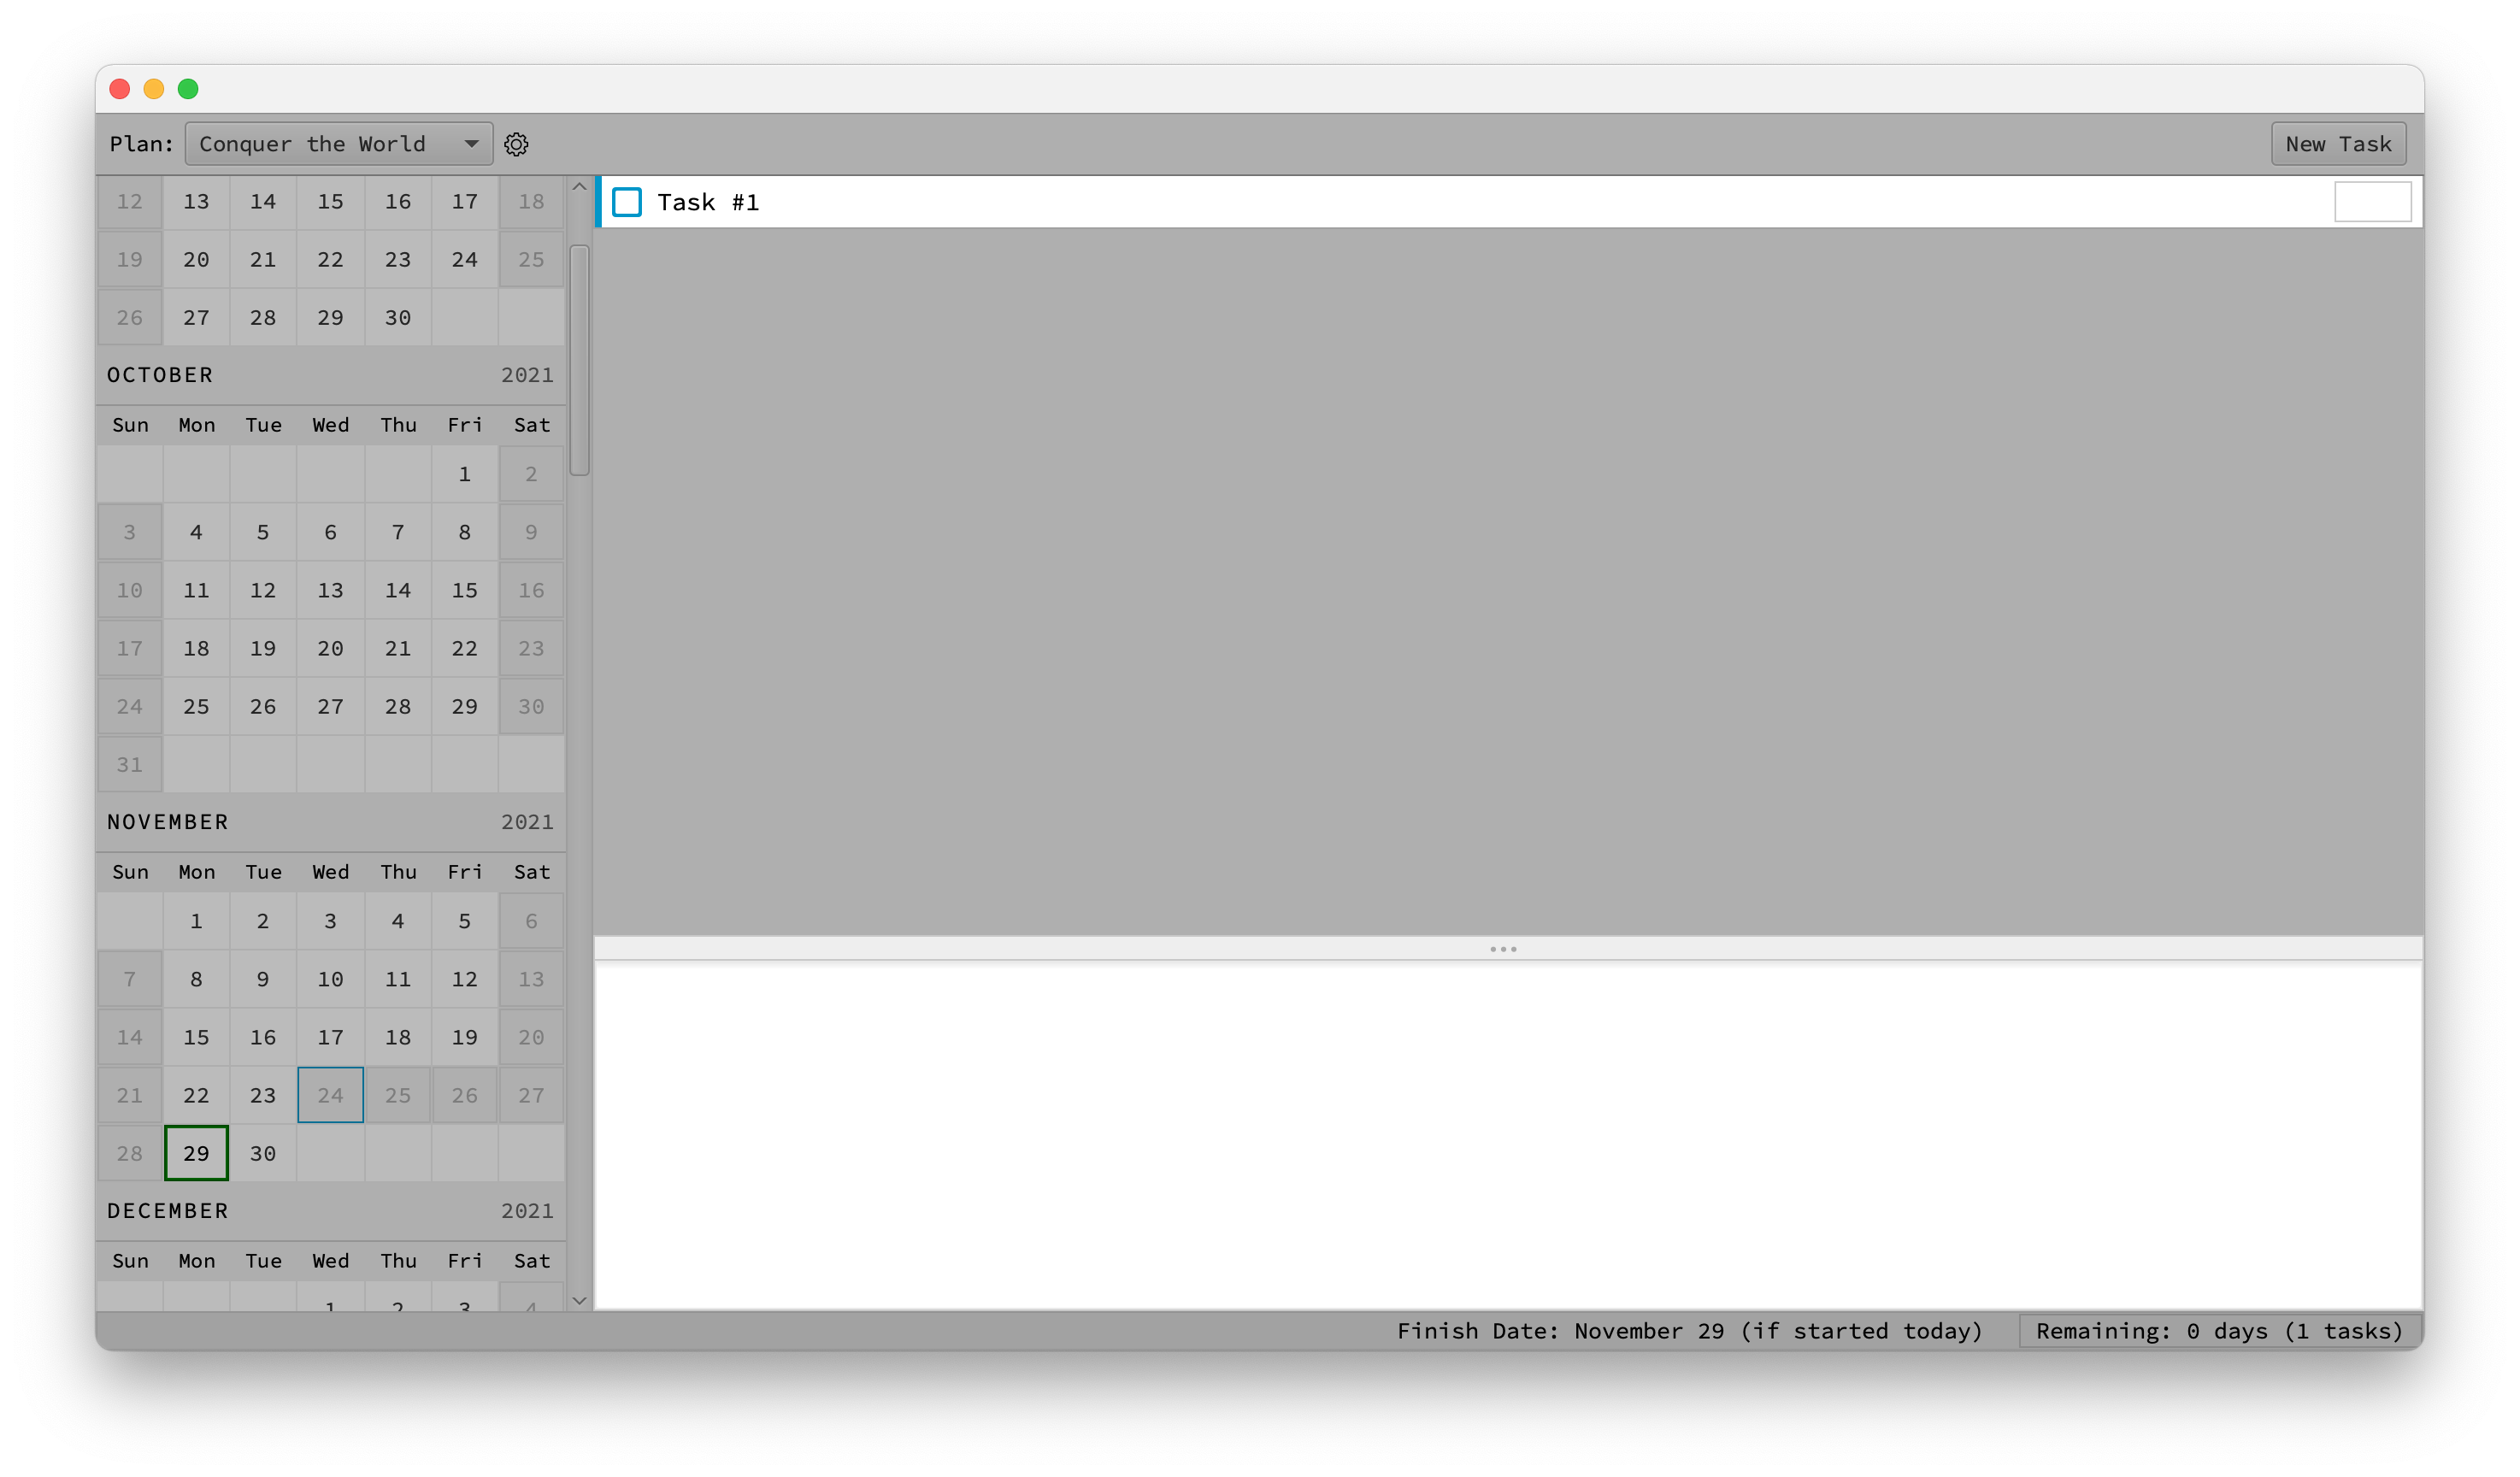
Once again, we'll fast-forward. As it turns out my final estimates were mostly correct. I did have to run back to the hardware store one more time to get more wood and paint to finally complete everything.
But I did manage to get done by the 24th:
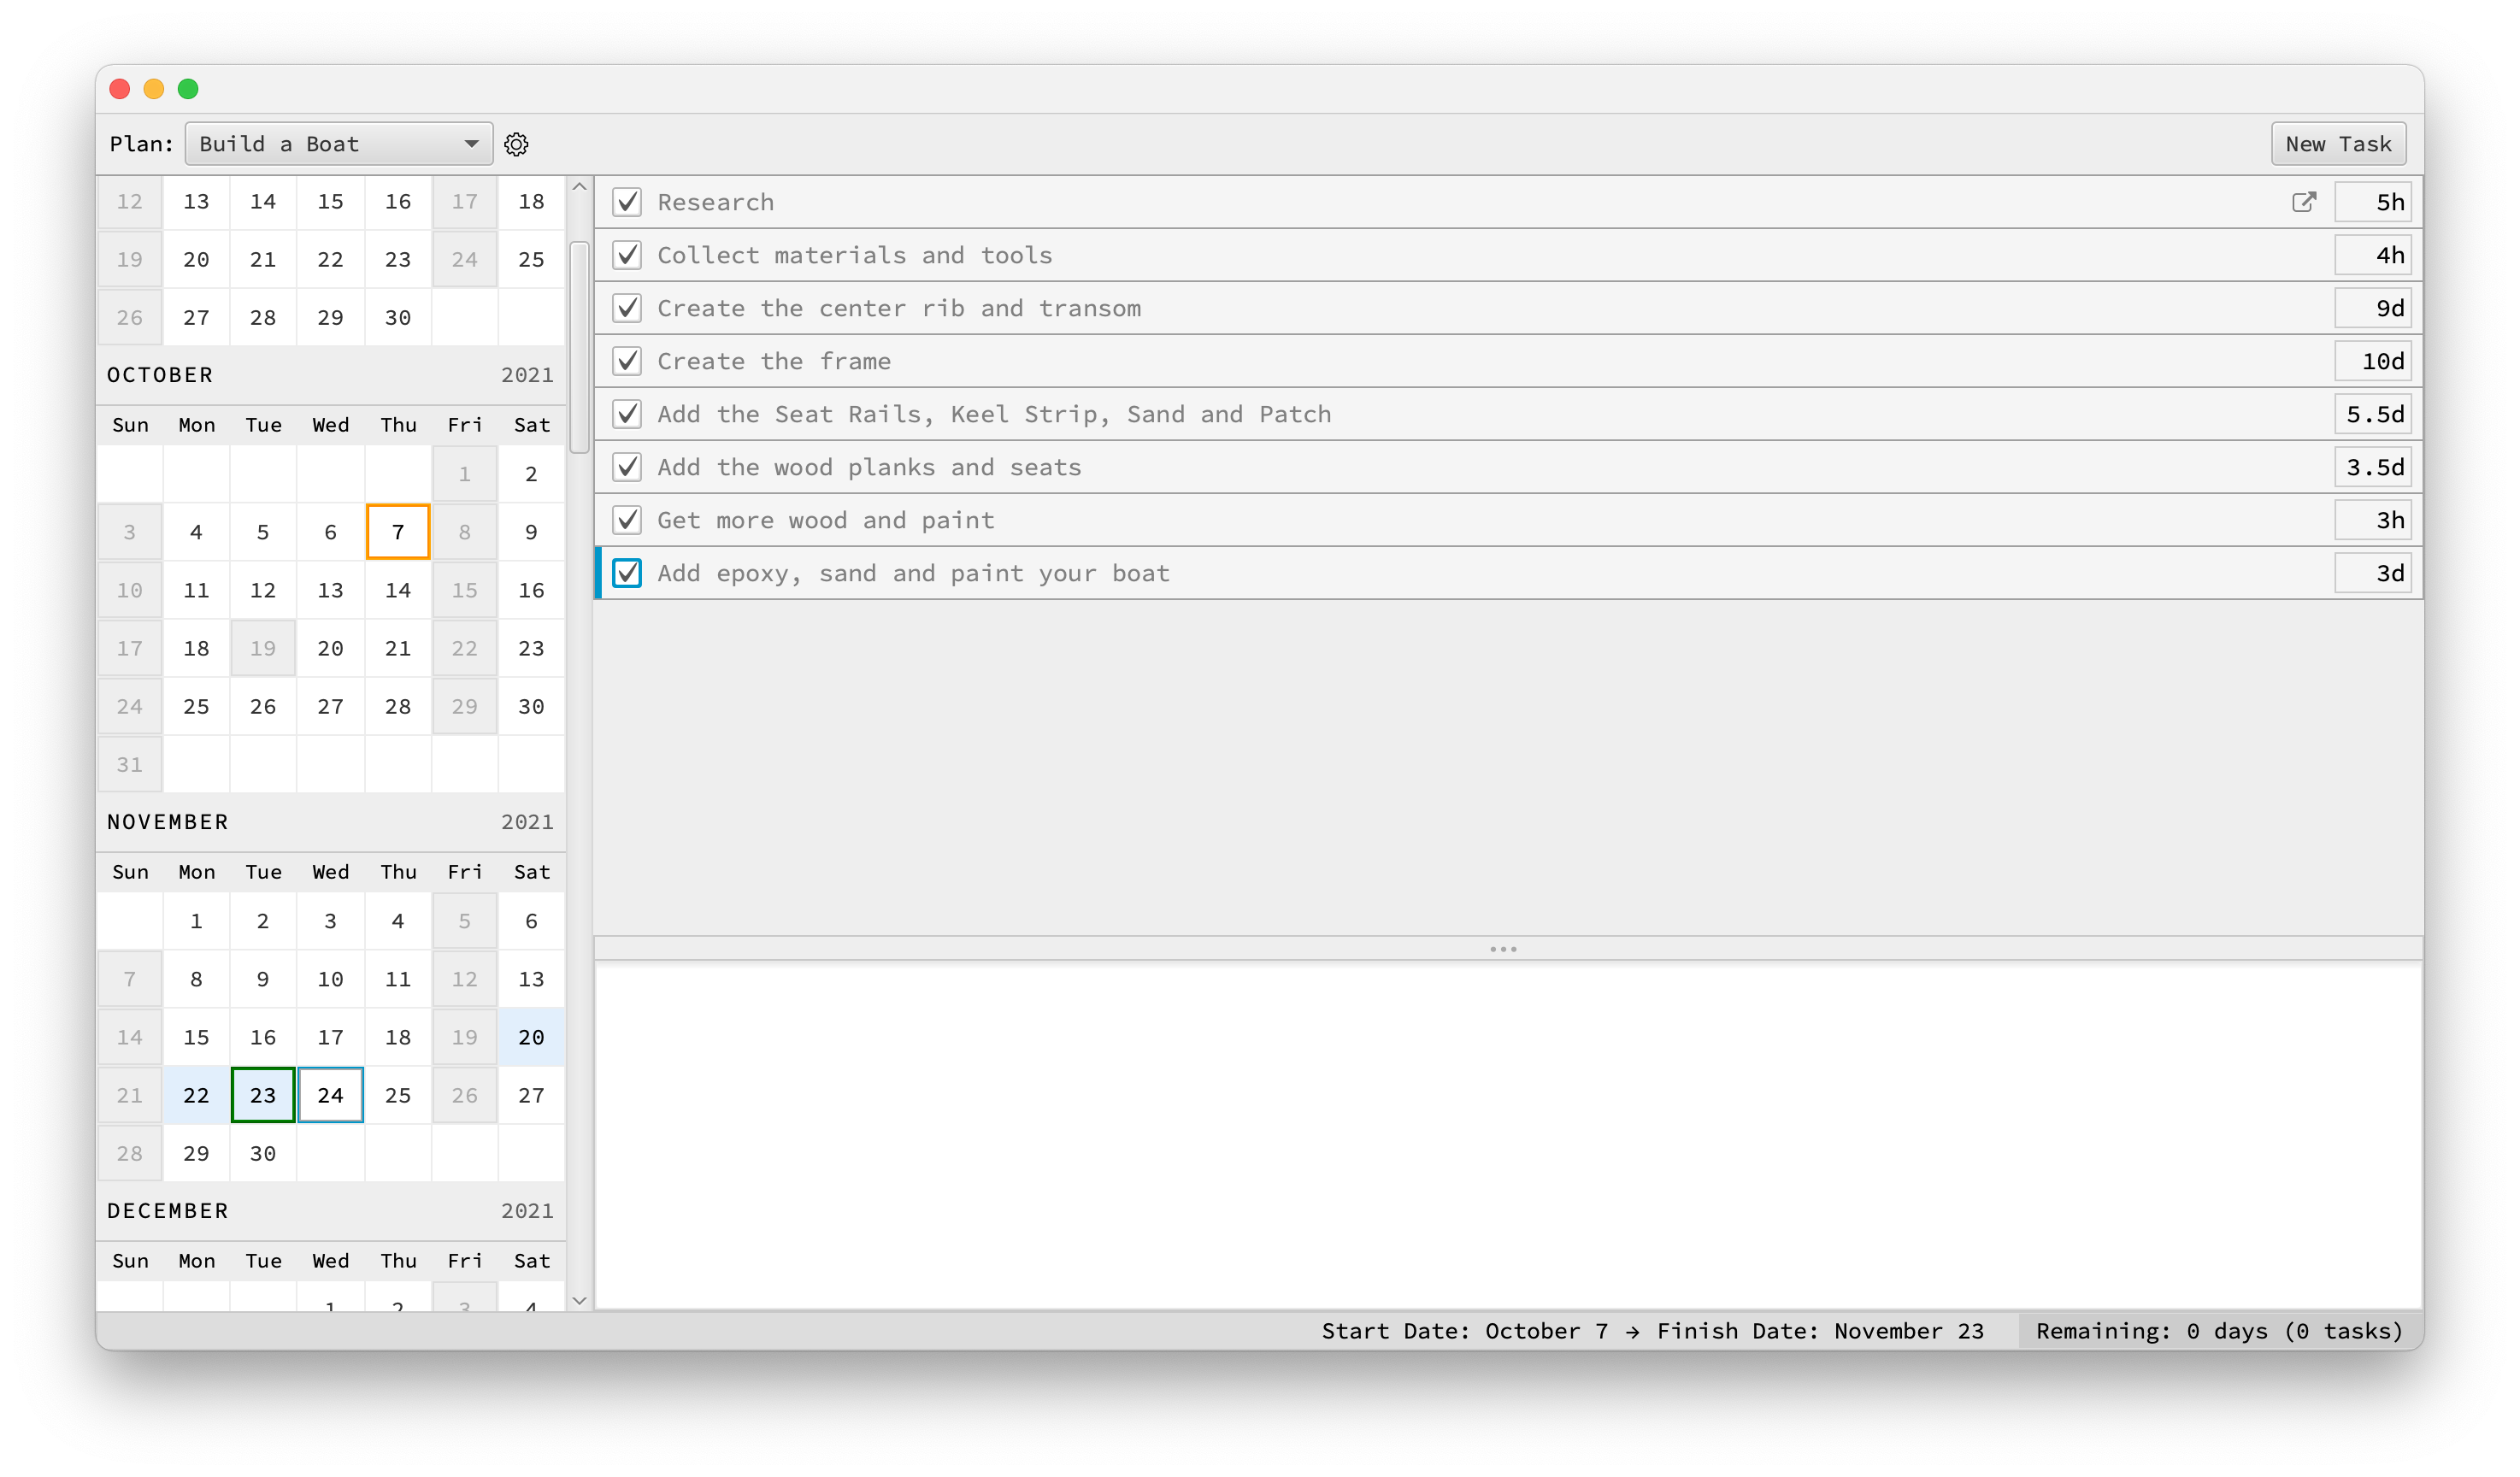
I now have a perfect record of my historical time and Chronos sets up me up for planning and prioritizing the executive delivery of my next project.
The next step will be to try Chronos in the real world. Next,
create and configure a plan for your current professional
or side project and try Chronos in the real world.